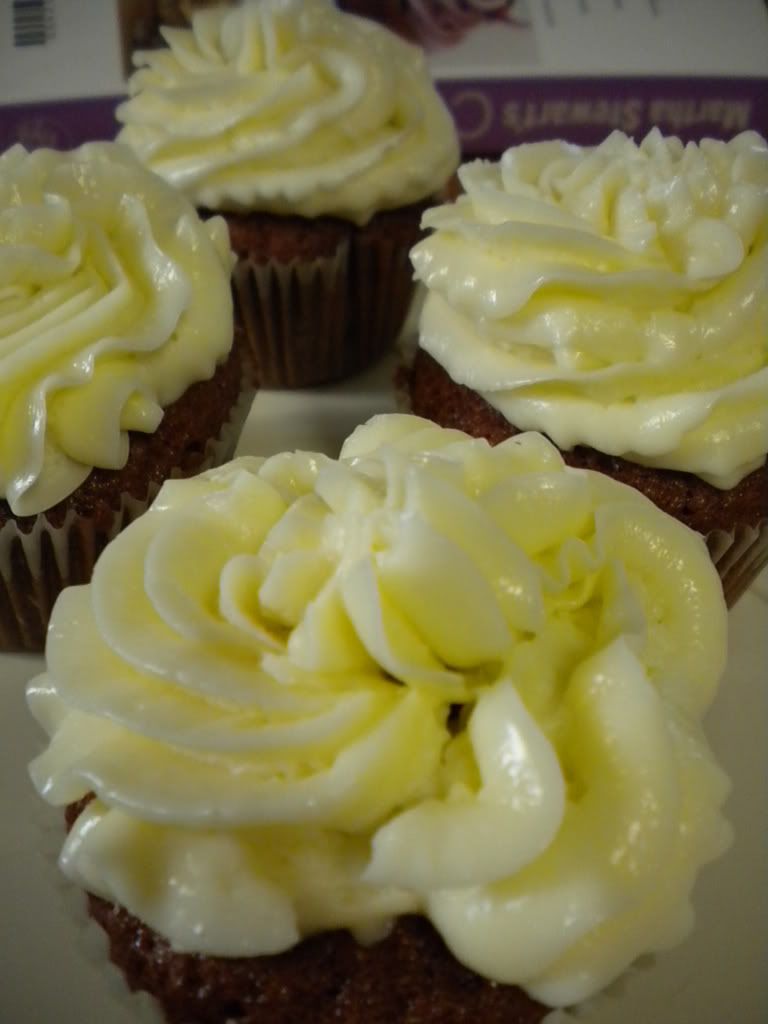
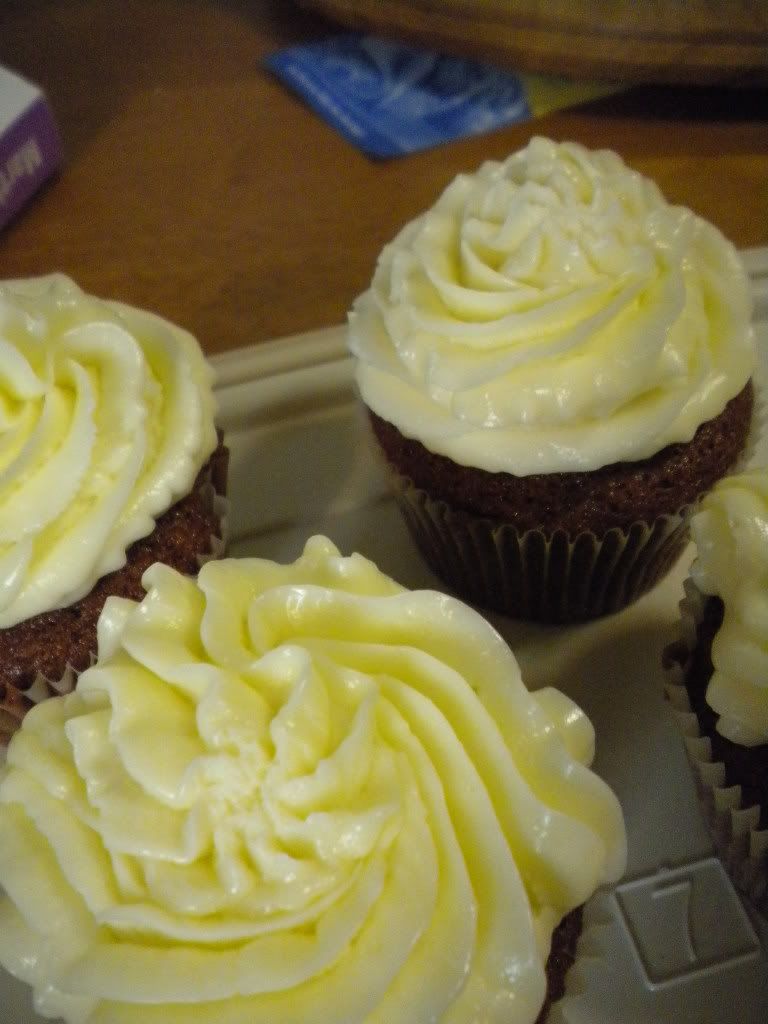
My next venture into the art of baking cupcakes was red velvet. While, ‘traditionally’ red velvet is considered a Valentine’s Day cupcake, I got distracted from making red velvet on that day with something else. But, I knew I wanted to make it regardless, and the guys I usually foist my cupcakes on, were asking for more! I deviated from the ‘traditional’ again, and instead of cream cheese frosting, I decided to make swiss meringue buttercream frosting. Mmm, I love buttercream frosting!
Again, I took the recipe from Martha Stewart’s Cupcake book. I found that her cake recipes are generally delicious.
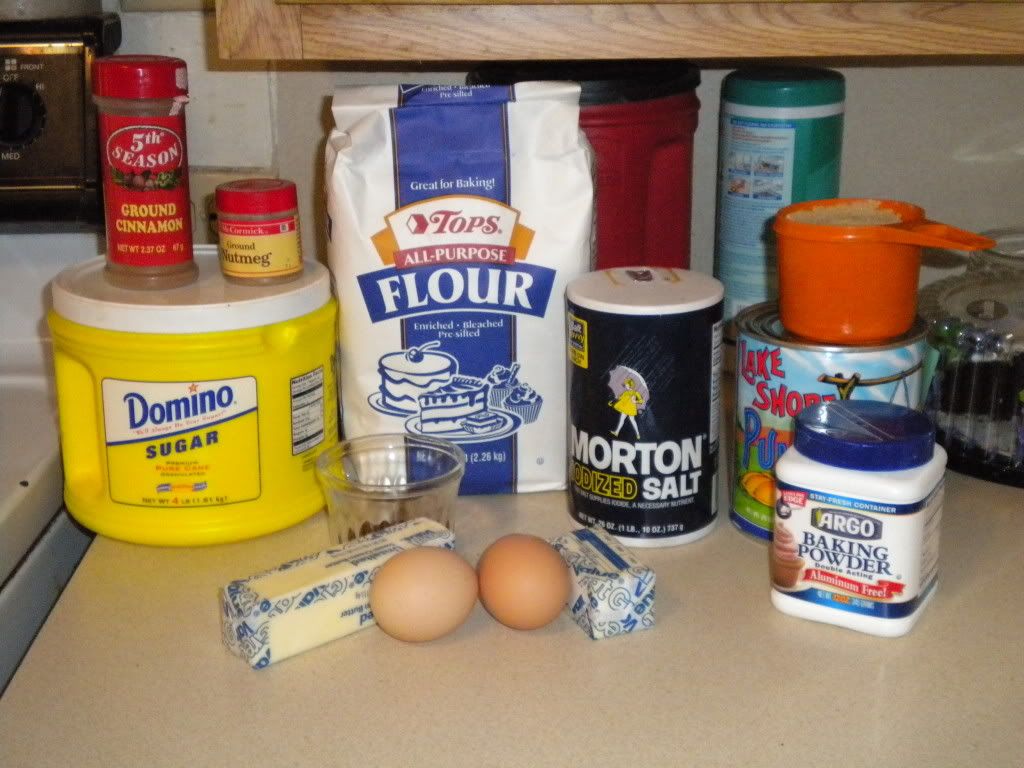
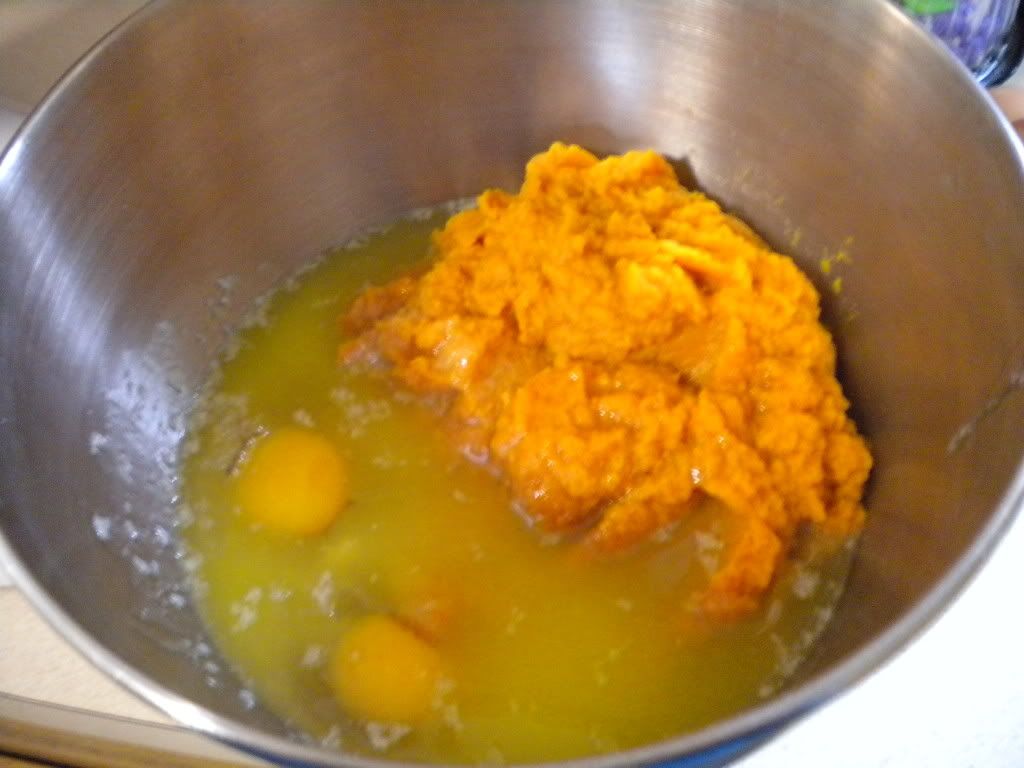
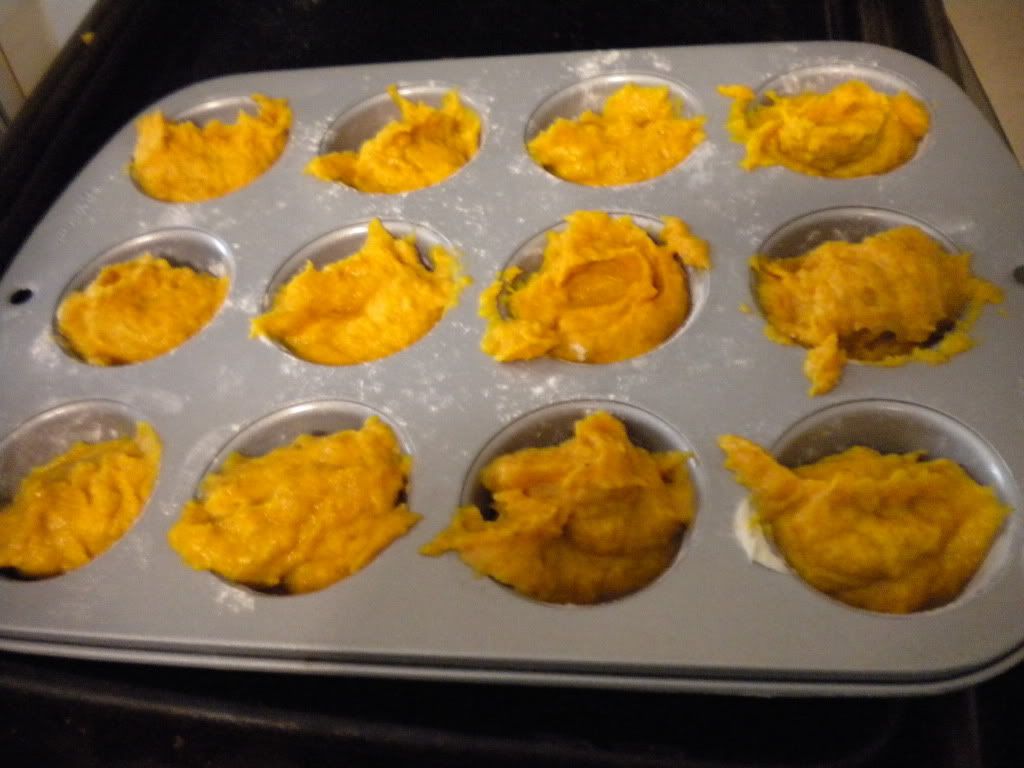
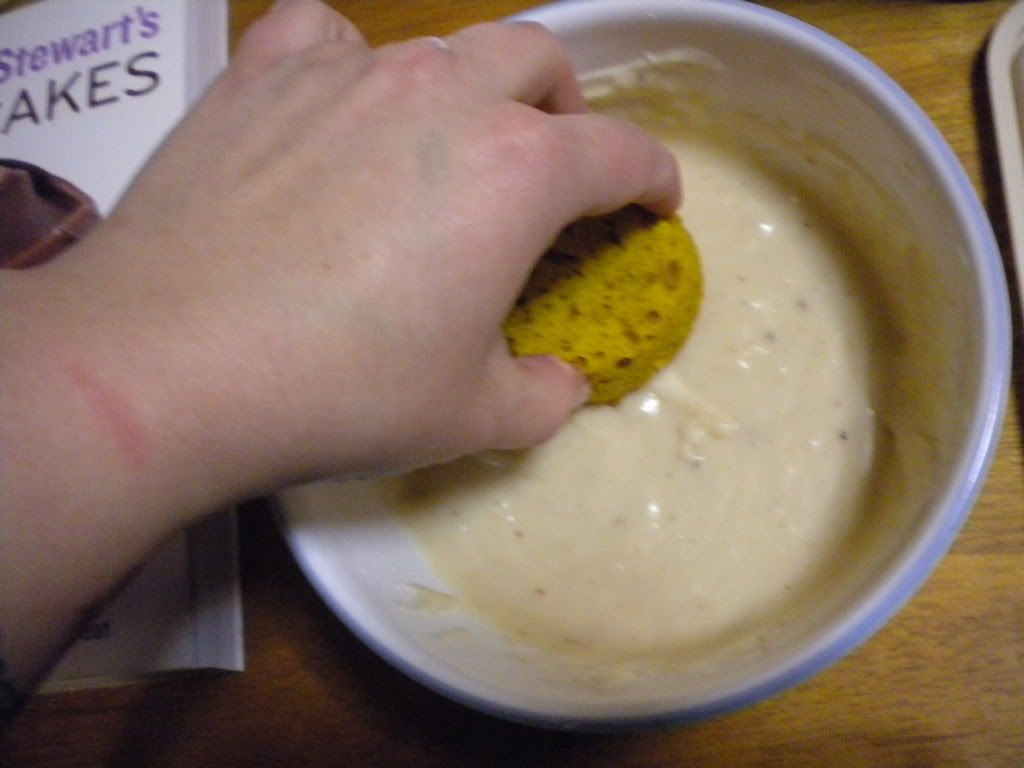
The red velvet recipe went according to plan. I was a little disappointed because they weren’t as red as I’d like them to be, but more of a weird maroon/brown/burgundy colour. Not too big of a deal, really. I did use red food-colouring. You know the kind, in the little drop bottle, that comes in a box with the primary colours. Nothing fancy. The recipe called for gel food colouring, which might be a bit more concentrated.
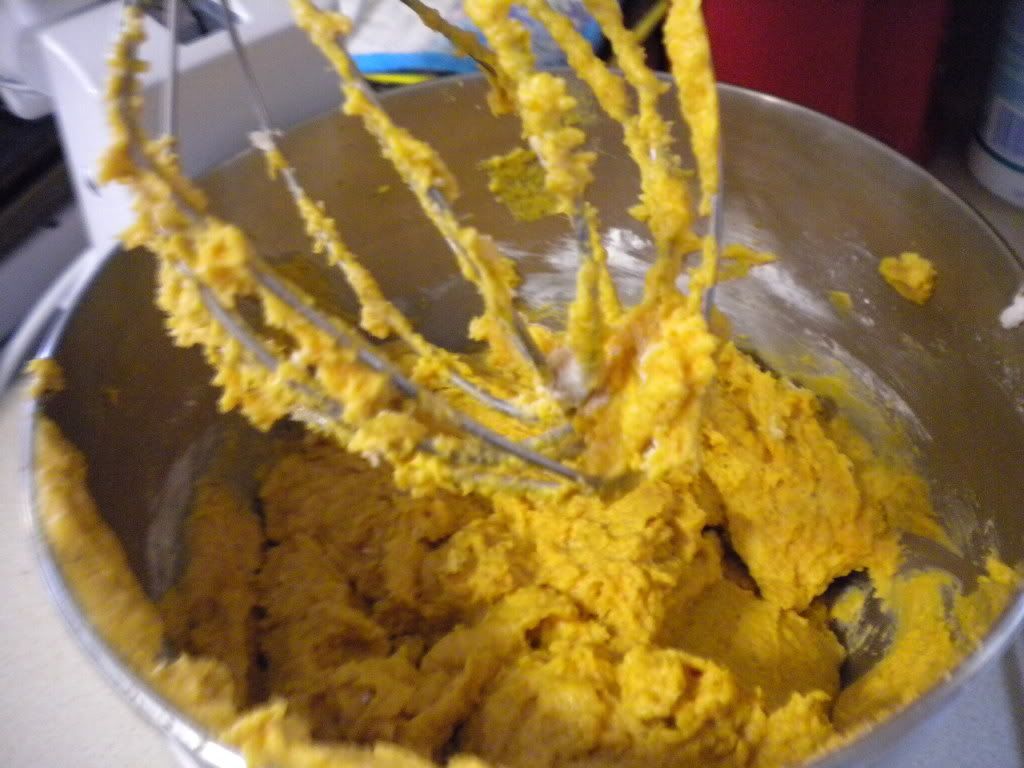
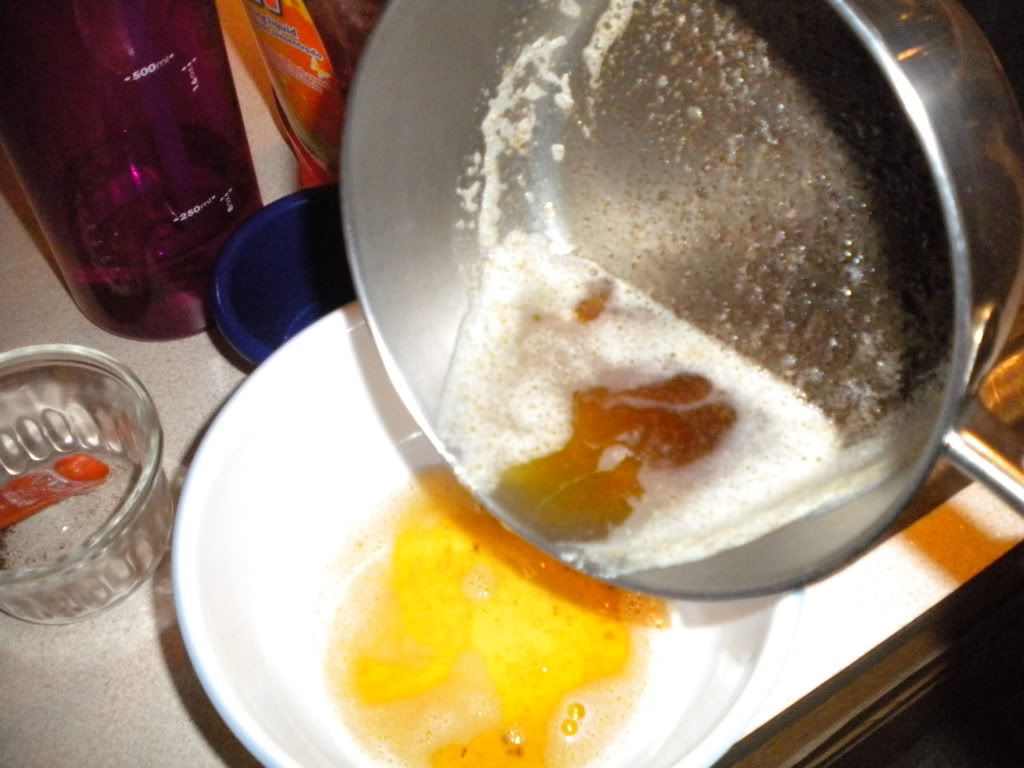
The problem came when I started to make the buttercream frosting. According to the recipe, and Martha Stewart, the use of a stand mixer came into play. I figured it wasn’t too big of a deal, and continued to use my great-grandmother’s old Sunbeam hand mixer that I’ve used for everything. It’s gotten me through thick and thin, I wasn’t going to give up on it yet! And it was so useful! I continued with the recipe with my hand mixer and all seemed to go well until…
“Switch to the paddle attachment, and continue beating on low speed until all air bubbles are eliminated…”
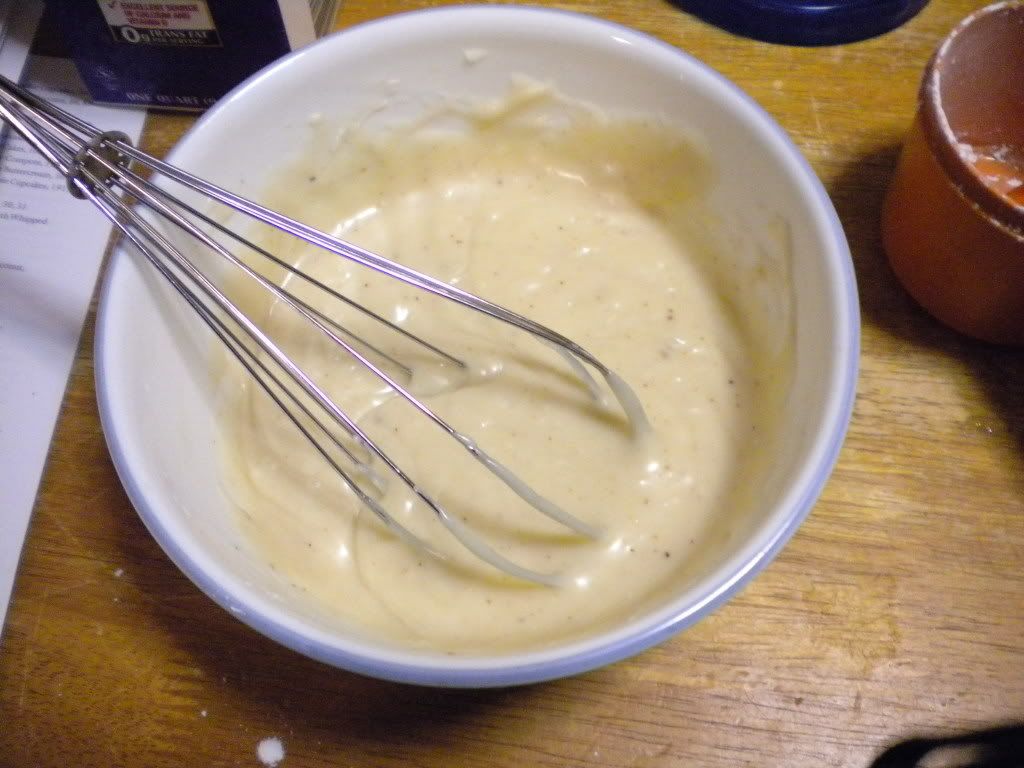
Wait what? Paddle attachment? What is that? The pictures didn’t give me much to go on. I got my spatula out, just in case, but I kept beating with my handmixer regardless. And I mixed and I mixed and I worried and poked at it with my spatula. But never did my frosting come close to looking like the picture. It looked like cottage cheese. It had curdled. Crap. I checked my recipe again. It said if the frosting curdled I could just mix it again on medium-high. Helpful! So, I amped the speed on my handmixer and kept at it. Nothing. It kind of began to juice a little, which was terribly gross.
I began to wonder where I went wrong. Everything else seemed to go according to plan: until the paddle attachment part. Maybe it was the handmixer? Noooo! I put the frosting mess into the fridge, in hopes that it’d solidify as it cooled. After a few hours, I pulled it back out and tackled it again. It still kept its lumpy, juicy form. It was pretending to be cottage cheese frosting.
I began to panic. I began to doubt my hand mixer. I began to look into the funds in my bank account (aka: very low).
See, I had wanted a stand mixer for a while, but they’re awfully expensive. I had searched and found a pretty standard KitchenAid stand mixer for 200 dollars. I was going to suggest it for Christmas where relatives could pool in and get it or something. But, my mom offered to pay for half of it now, since she enjoyed watching me discover my baking ‘talent’ since I started. She knew I was really getting into baking. So we began to look for a place that sold a stand mixer in our price range, with most importantly a paddle mixer. We first called our small Sears branch, since Sears sells Kitchen Aid. Our Sears only sell large appliances though. Next, we headed to Kmart, since Kmart is under Sears, and might have the mixer I had in mind. Not there. Not even a cheaper one with a paddle mixer. So I went to Walmart. And there it was, sitting all on its lonesome on a shelf. The Kitchen Aid stand mixer. The only one. I asked a salesperson if they sold the display, and they told me no. They were nice enough to check if they had any in stock, but eventually we realized there wasn’t one there. My next guess was Lowe’s. I called them to ask them if they had stand mixers (they did), and if they carried Kitchen Aid (they did!). After gushing on the phone to this poor man, I raced over there and finally found a stand mixer with a paddle attachment. Hurrah! I dragged the thing home and set to work on a new batch of swiss meringue buttercream (using the last of my butter, did you know this recipe uses over a pound of butter!?). It began to curdle worryingly, but I hit the high option and it began to smooth out. Finally! Success!!
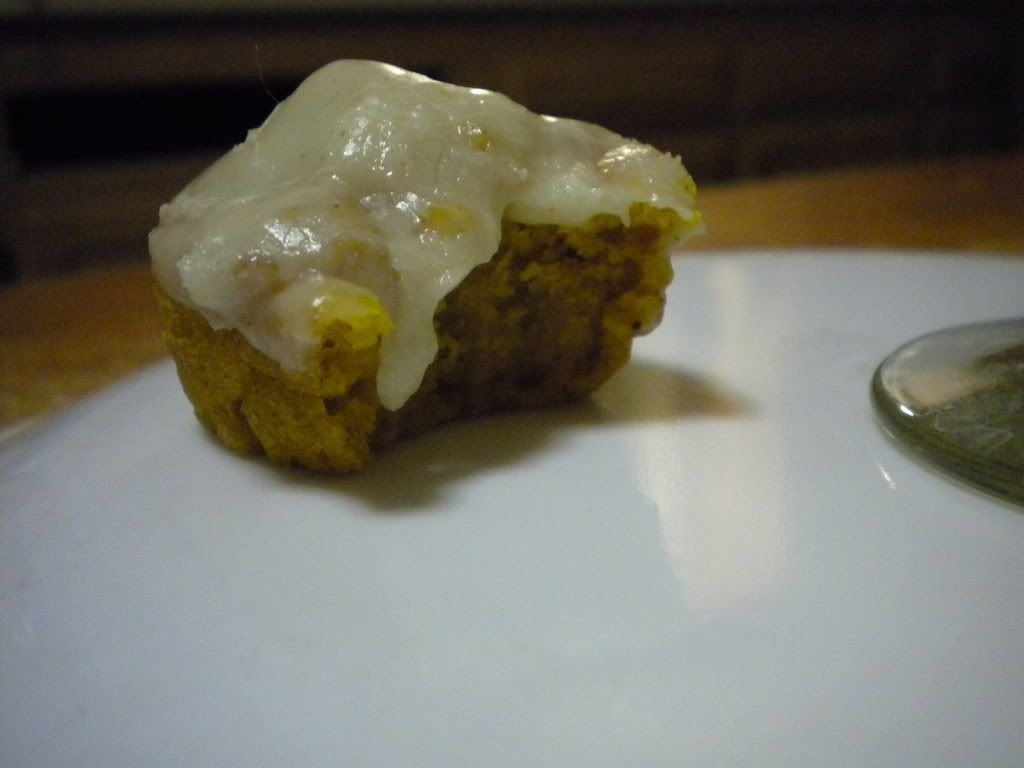
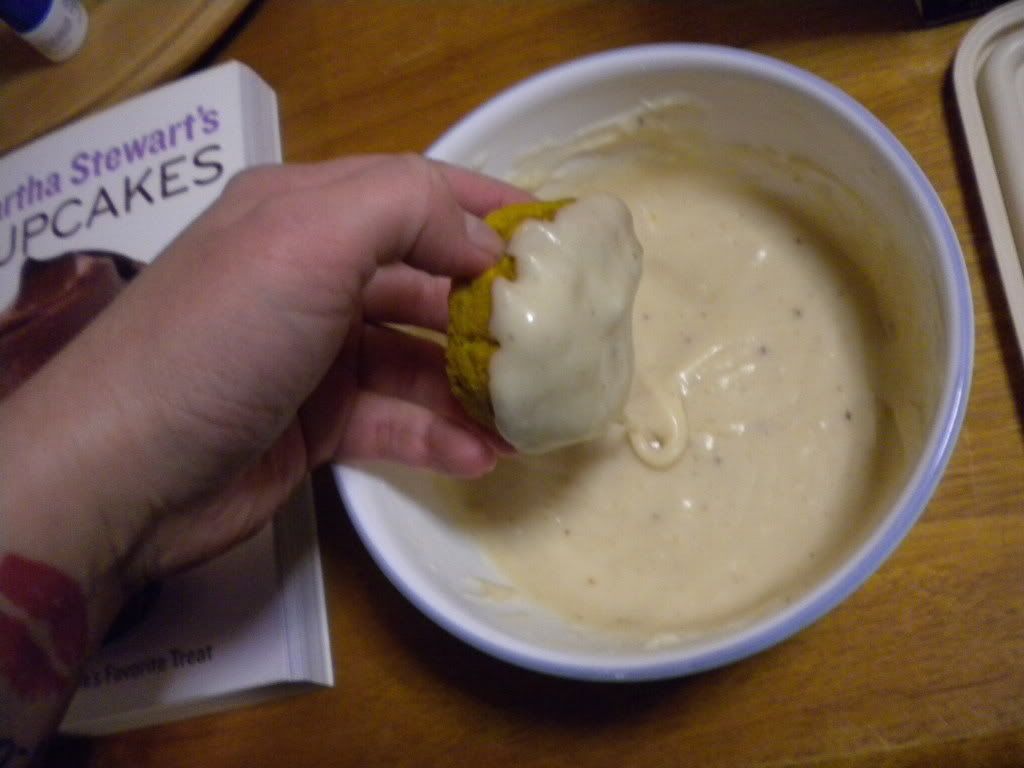
All in all, not one of my favourite cakes I’ve tried yet. The cake, while completely moist and lovely, wasn’t very high on my taste list. And the buttercream was just odd and slimy-tasting. I’ve been looking around for alternate buttercream frosting recipe. My stand mixer came with a slew of recipes, one of which is a buttercream recipe, with different ingredients. The guys, my taste-testers, voted up on the cupcakes and down on the frosting. They definitely agreed on the taste and texture of the buttercream recipe. They didn’t like the lack of flavour and asked if I didn’t make it again, or made one with more flavour.
You can see the way the frosting glistens. It's oily, and makes that terrible slimy texture.
My mom suggested that it was the egg whites that gave it its slimy taste, and from a little bit of research, I realized that swiss meringue buttercream uses egg whites while traditional buttercream does not. (I eventually tried a traditional chocolate buttercream recipe for some whoopie pies I made. I got the recipe from
"Whoopie Pies: Dozens of Mix 'em, Match 'em, Eat 'em Up Recipes". It was decadently chocolatey but too overwhelming for my chocolate whoopie cake I was using it with. It gave even ME a chocolate overload and made my teeth ache. But it wasn’t slimy! And it didn’t curdle.) So still on the search for a buttercream recipe! I might attempt Swiss Meringue Buttercream again, but maybe amp up the taste with some flavouring in it, like vanilla or something.
The recipes can be found in Martha Stewart’s “Cupcakes” book, and on her site here:
Red Velvet Cupcake
Swiss Meringue Buttercream