Sunday, April 10, 2011

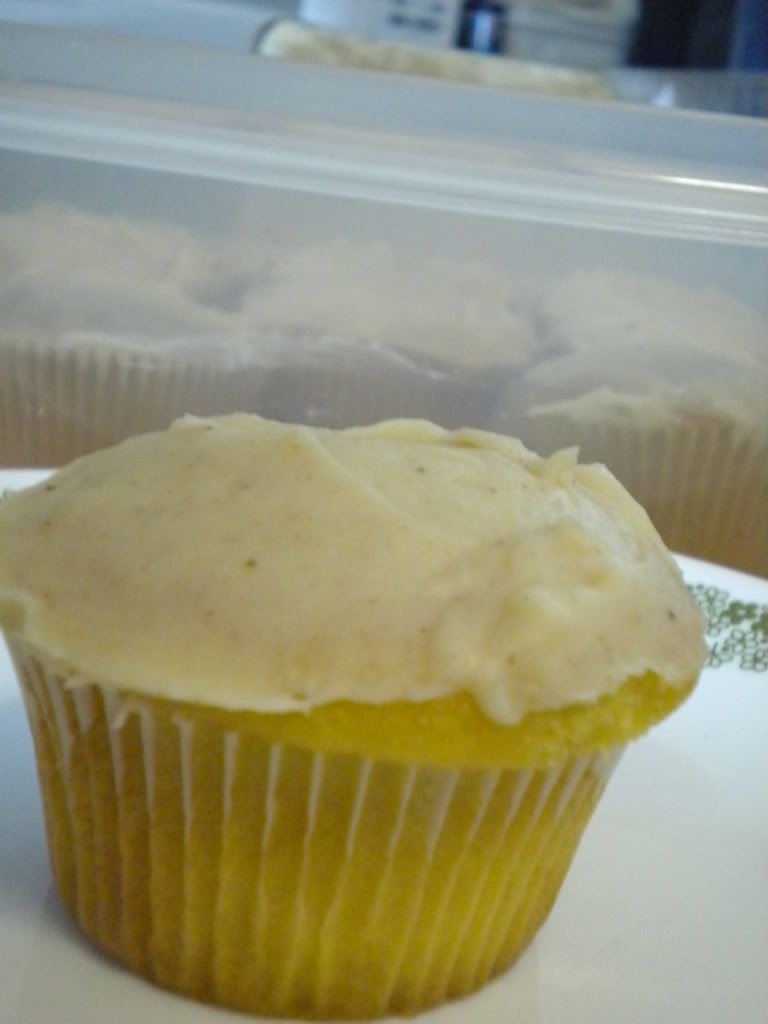
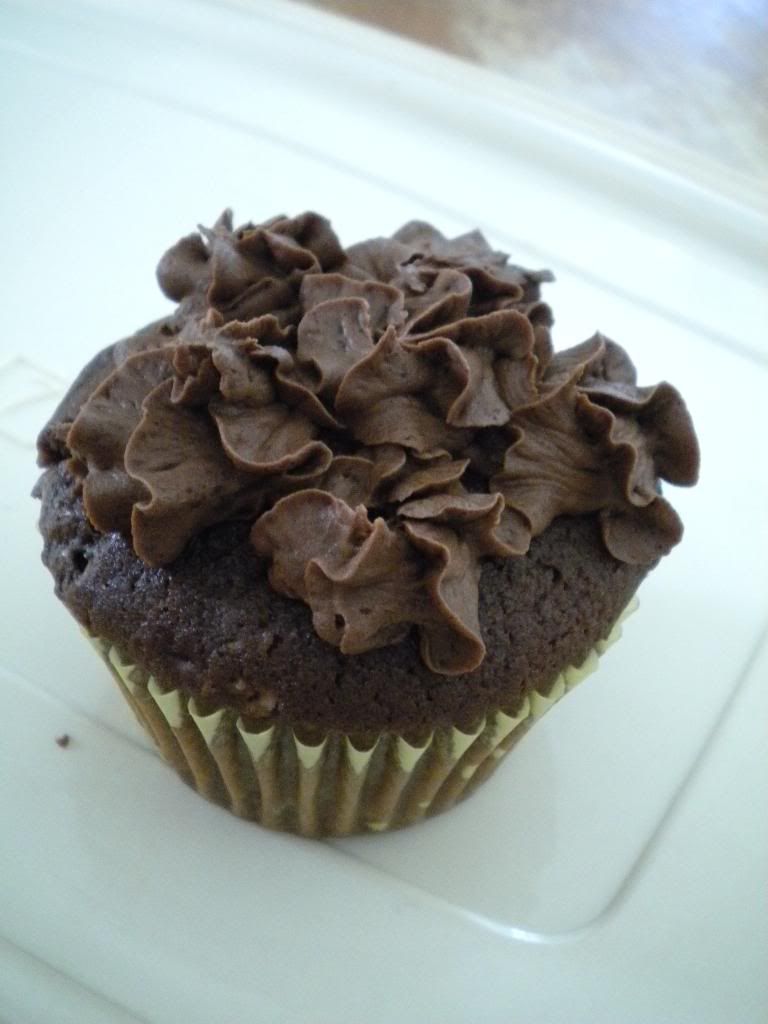
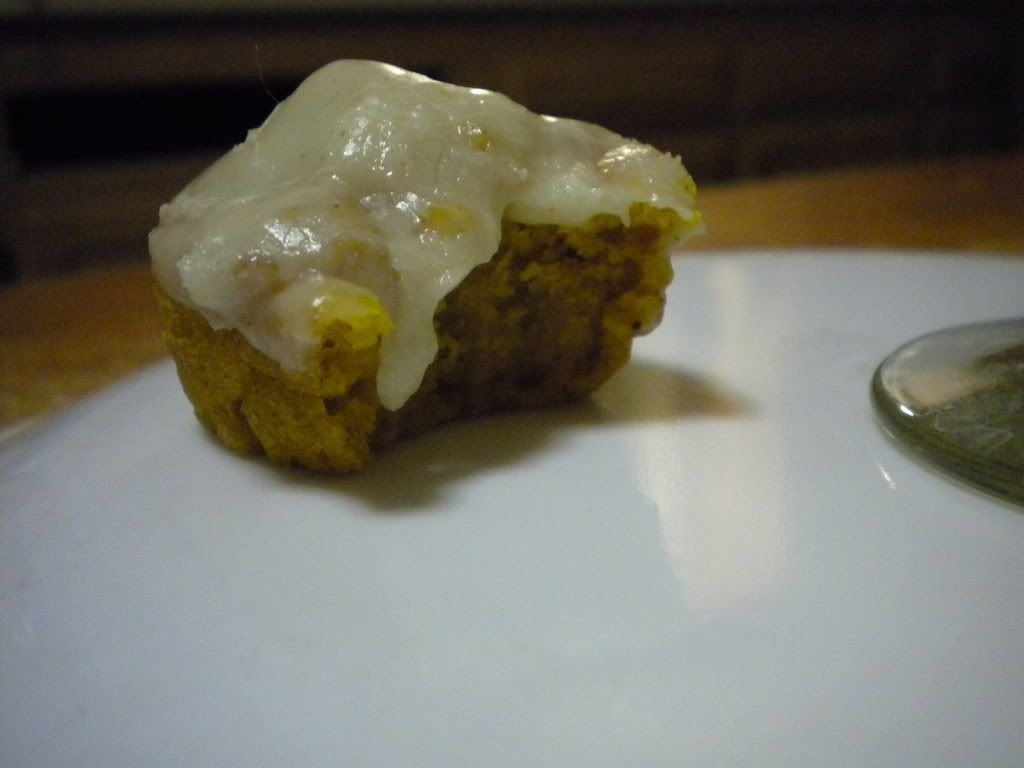
Pumpkin Brown-Butter Cupcakes


This was the recipe I pulled out of an empty Fluff jar, in order to make a decision on what cupcakes/sweets I wanted to make. Over 100 recipes to make, and still adding to the jar! When I told my taste-testers, they were excited to hear about pumpkin. They said it made them feel more healthy eating my goodies. Haha. 

This will also be my first blog post where I will attempt to do step-by-step instructions of the recipe I just made. Now including pictures! Super fancy, right!?

I got this recipe out of Martha Stewart's "Cupcakes" book. 

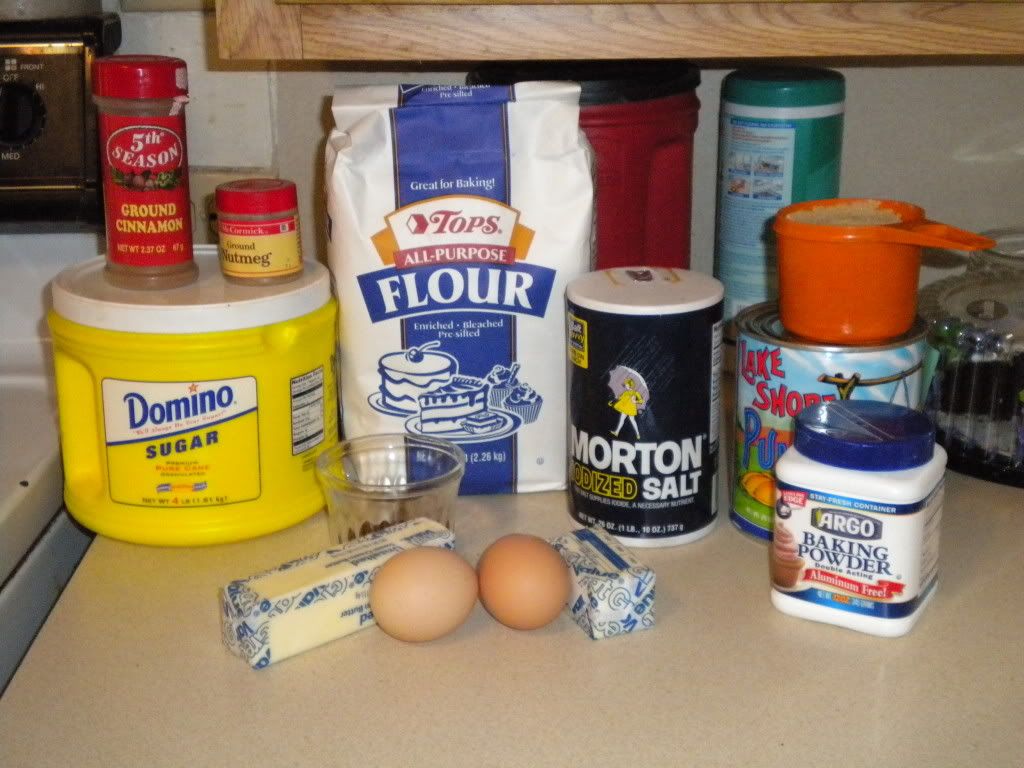
Ingredients for cupcakes:
  • 3/4 cup (1 1/2 sticks) unsalted butter, room temperature. Plus more for tins
  • 1 2/3 cups all-purpose flour. Plus more for tins
  • 2 tsps. baking powder
  • 1 tsp salt
  • 1/2 tsp ground cinnamon
  • 1/4 tsp grated nutmeg
  • 1/8 tsp ground cloves
  • 1 cup canned pumpkin puree (but not pie filling)
  • 1 cup packed light-brown sugar
  • 1/2 cup granulated sugar
  • 2 large eggs


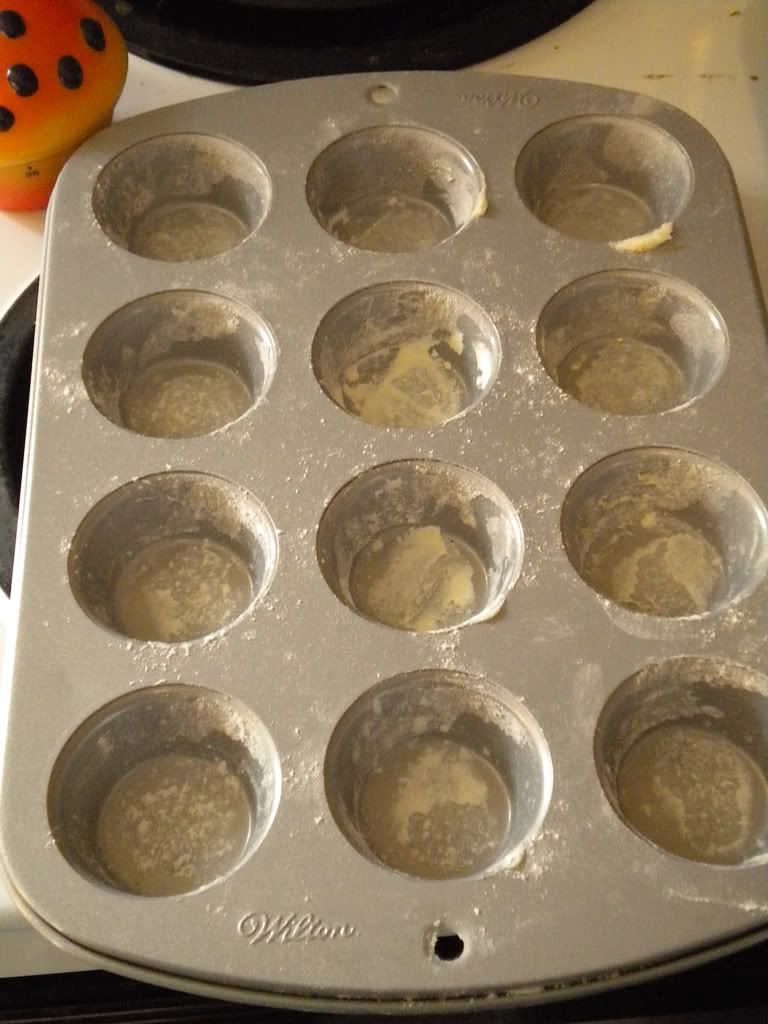
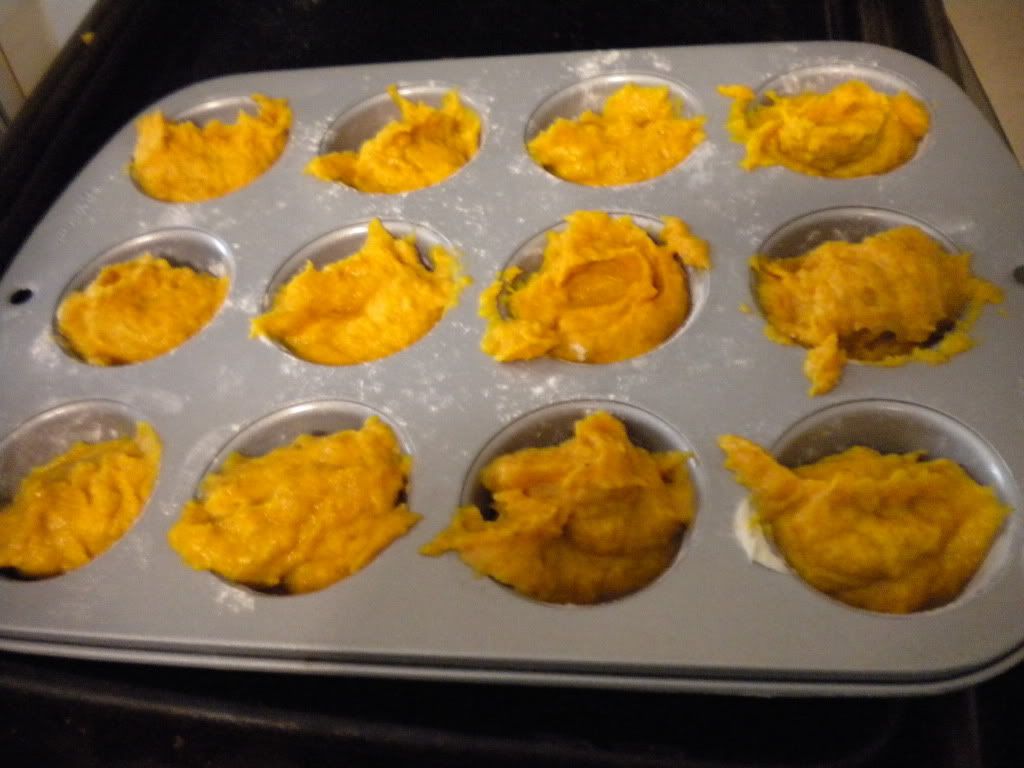
1. Preheat oven to 325° F. Brush muffin tins with butter; dust with flour, tapping out excess. 

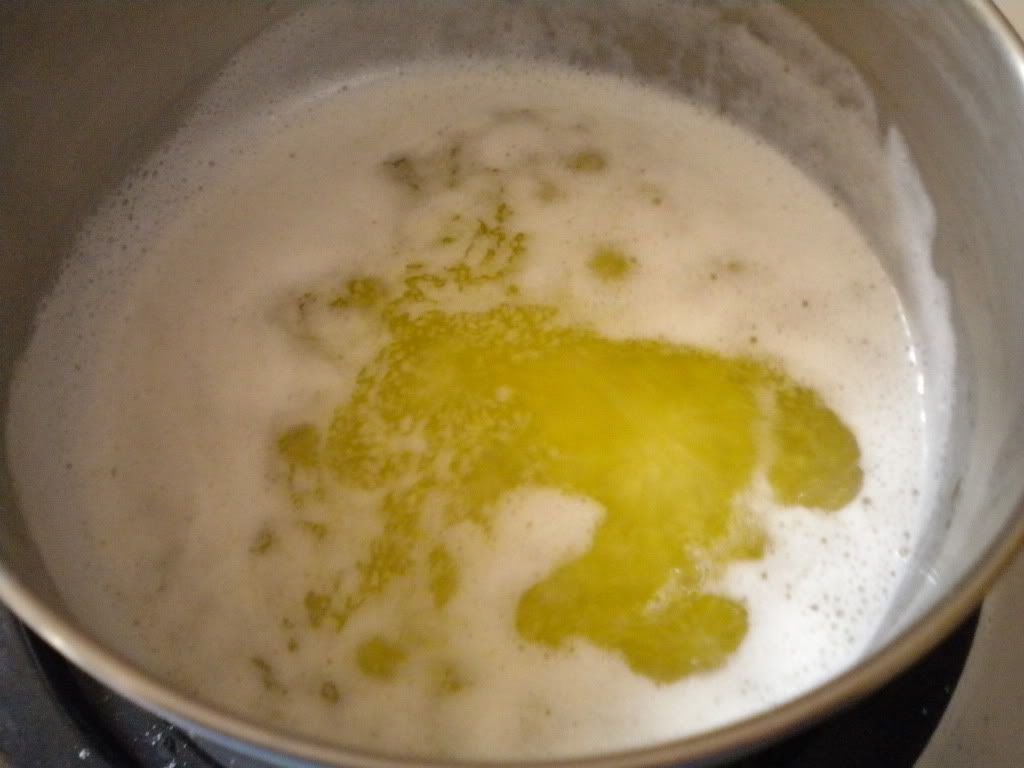
2. In a saucepan, melt the butter over medium-low heat, swirling occassionally, until butter turns golden brown. Skim foam from top, and remove from heat. Pour into a bowl to stop the cooking, leaving any burned sediment behind; let cool.

3. Whisk together flour, baking powder, salt, cinnamon, ntumeg, and cloves. In another bowl, whisk together the pumpkin puree, both sugars, eggs, and brown-butter mixture. 
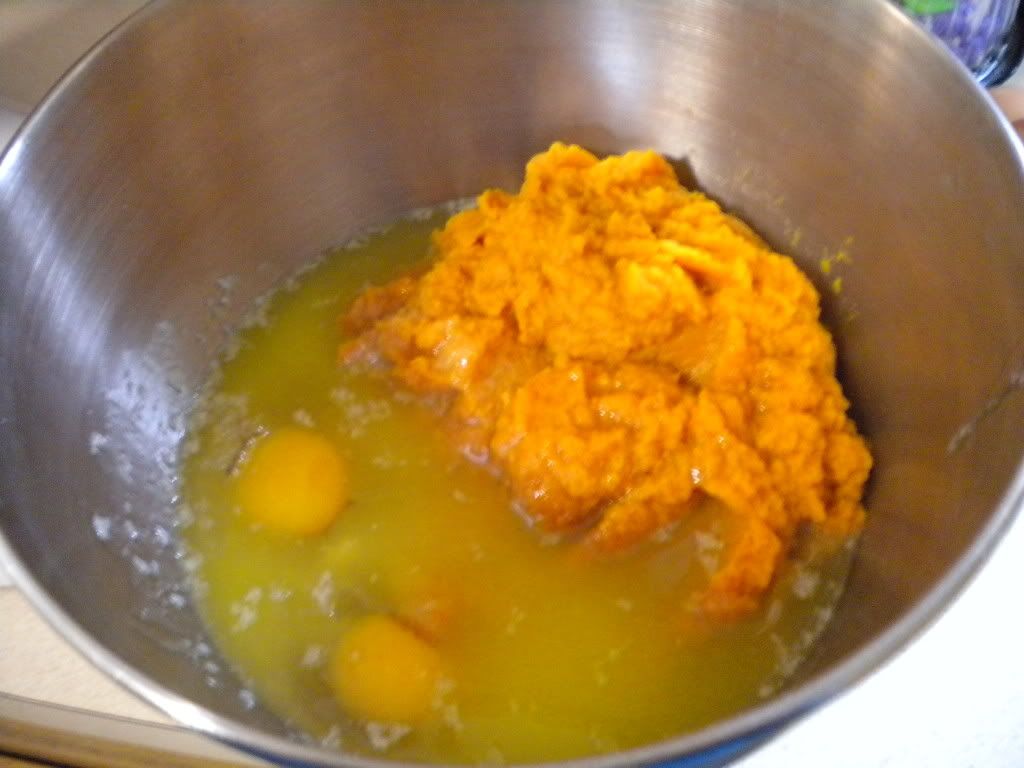

4. Add flour mixture, and whisk until just combined.
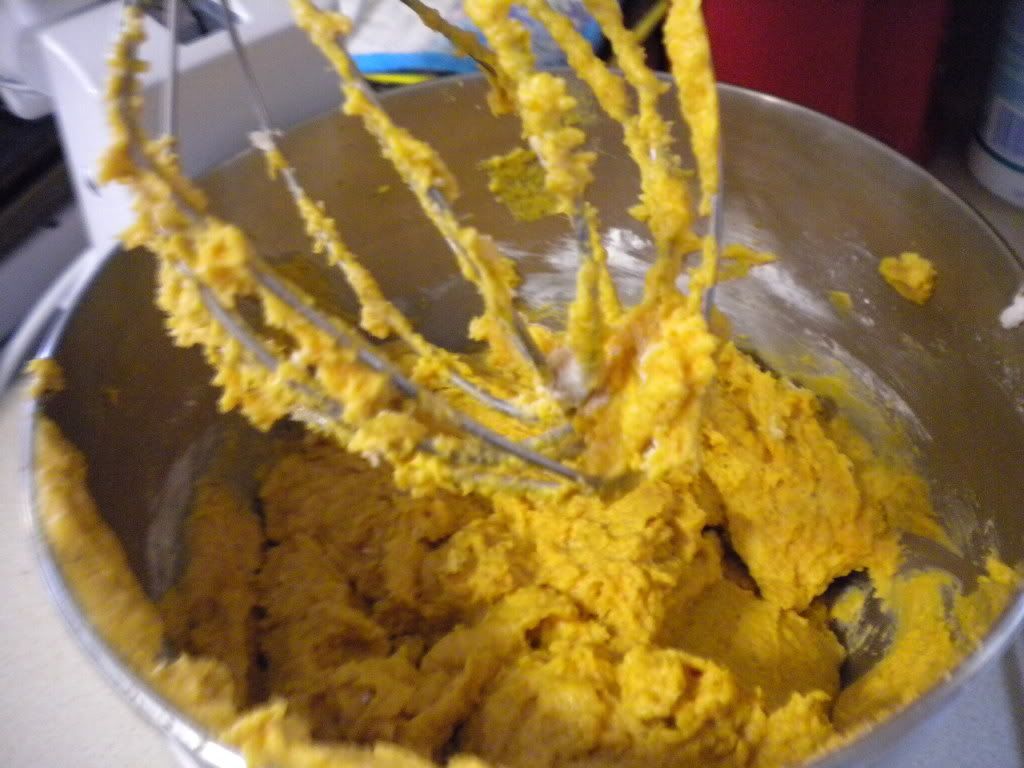

5. Divide batter evenly among lined cups, filling each three-quarters full. Bake about half an hour, until a cake tester inserted (or a toothpick) comes out clean. Let cool on racks completely before icing.

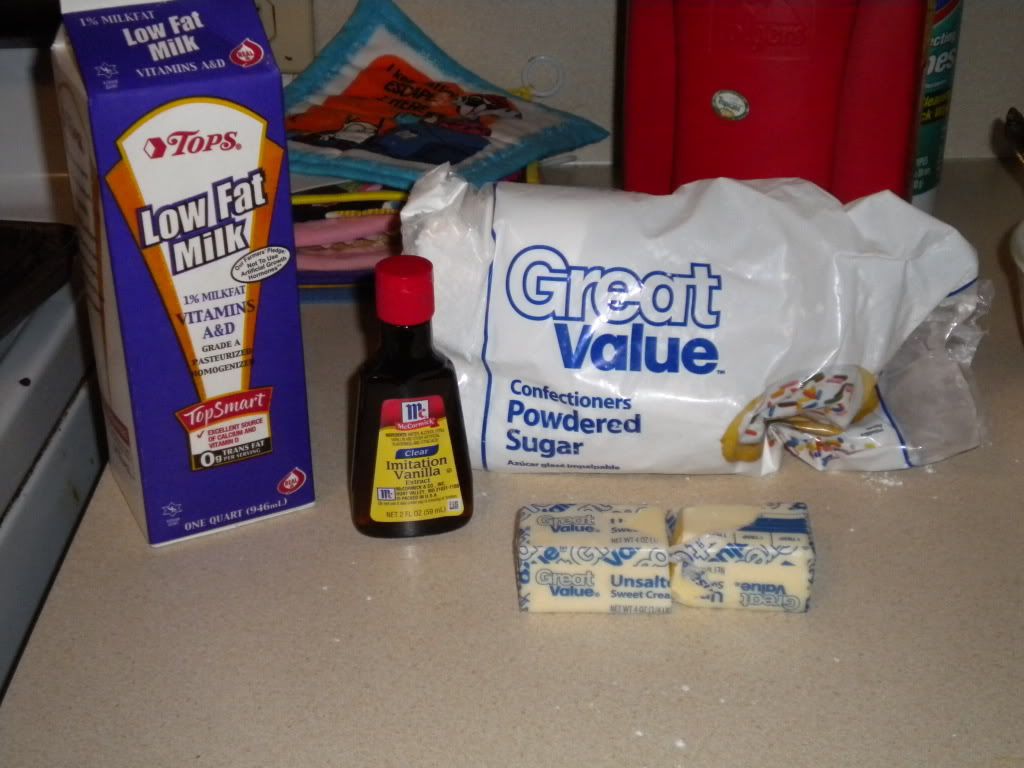
Brown-butter Icing ingredients:
  • 1/2 cup (1 stick) unsalted butter
  • 2 cups confectioners' sugar
  • 2 tsps. vanilla extract
  • 2 tblsps. milk

1. Melt butter in a saucepan over medium heat, swirling pan occassionally, until nut-brown in colour, about 10 minutes. It will give off this lovely nutty scent that butter doesn't smell like at first. Remove from heat, and pour butter into a bowl, leaving burned sediment behind.
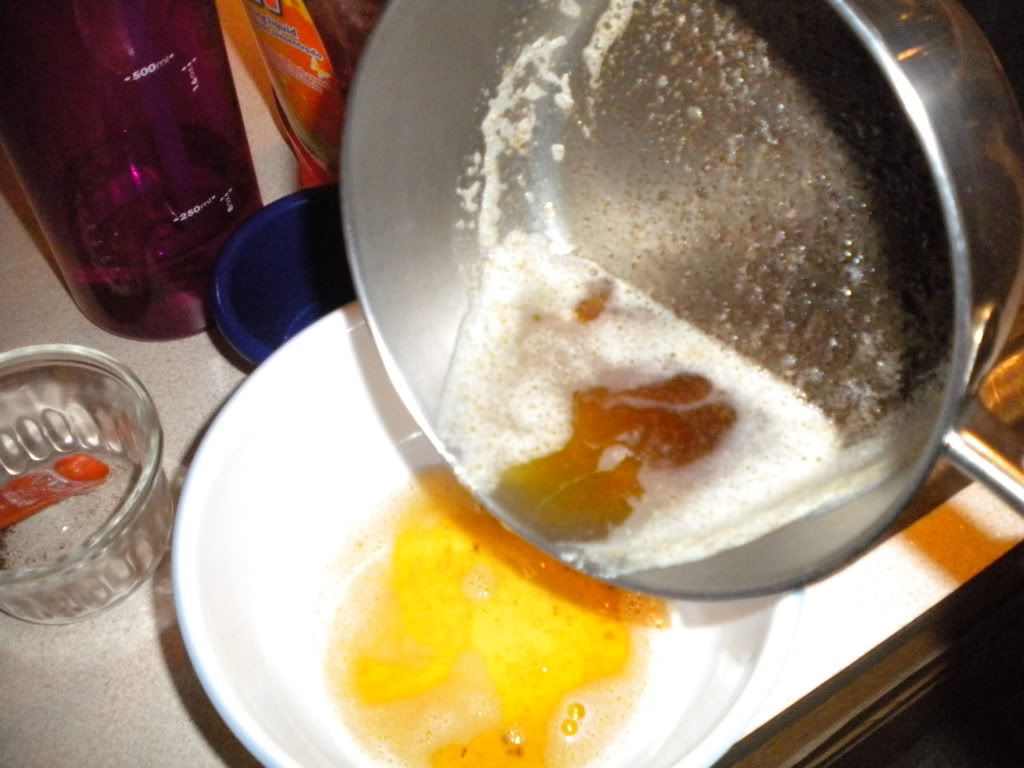
2. Add confectioners' sugar, vanilla, and 2 tablespoons of milk to brown butter. Stir until smooth. If necessary, add more milk (up to 2 more tablespoons), a little at a time until icing is spreadable. Use immediately. If not, it will begin to stiffen as it cools and you'll have to stir it fervently to get it back to a spreadable consistency.
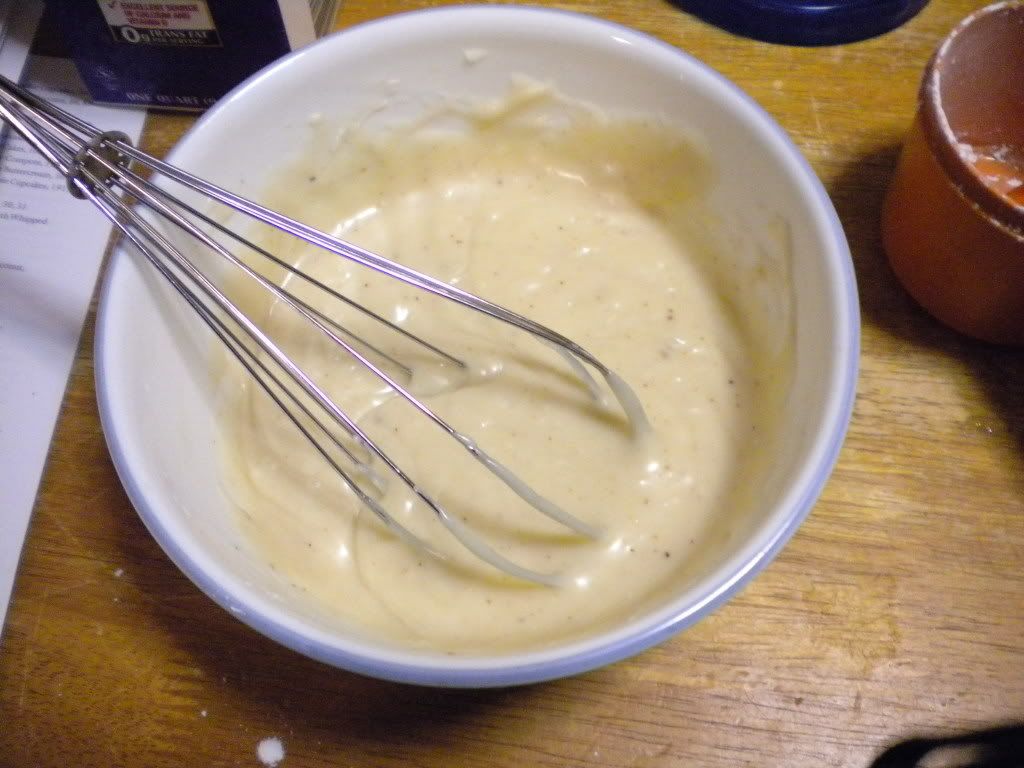


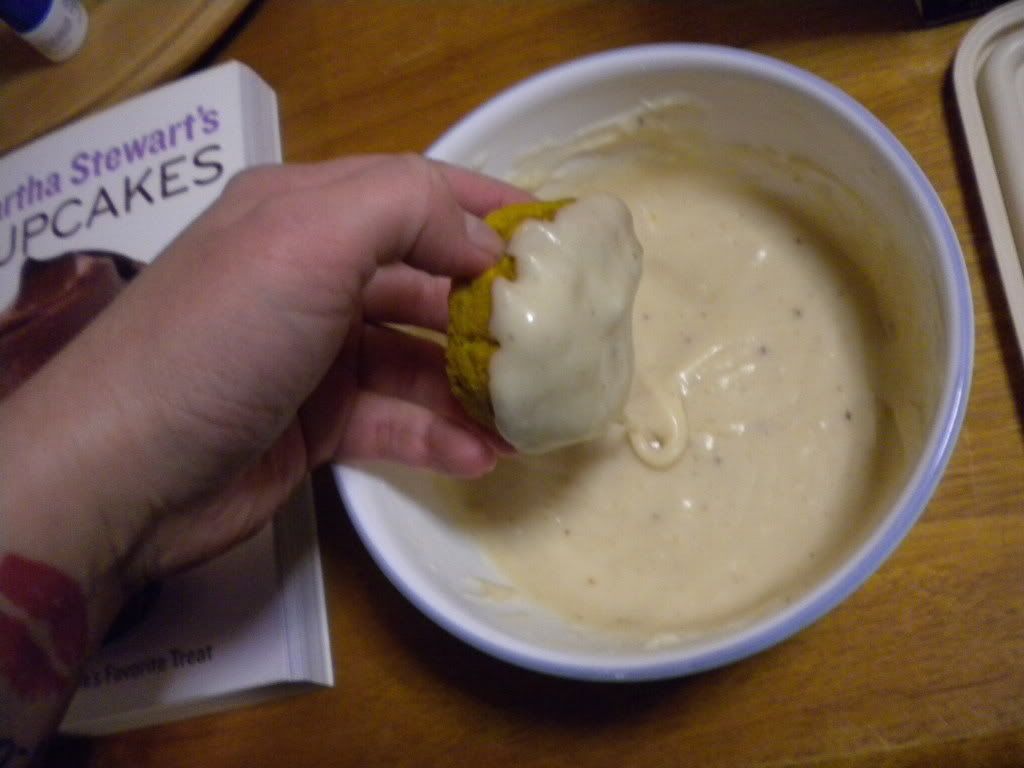
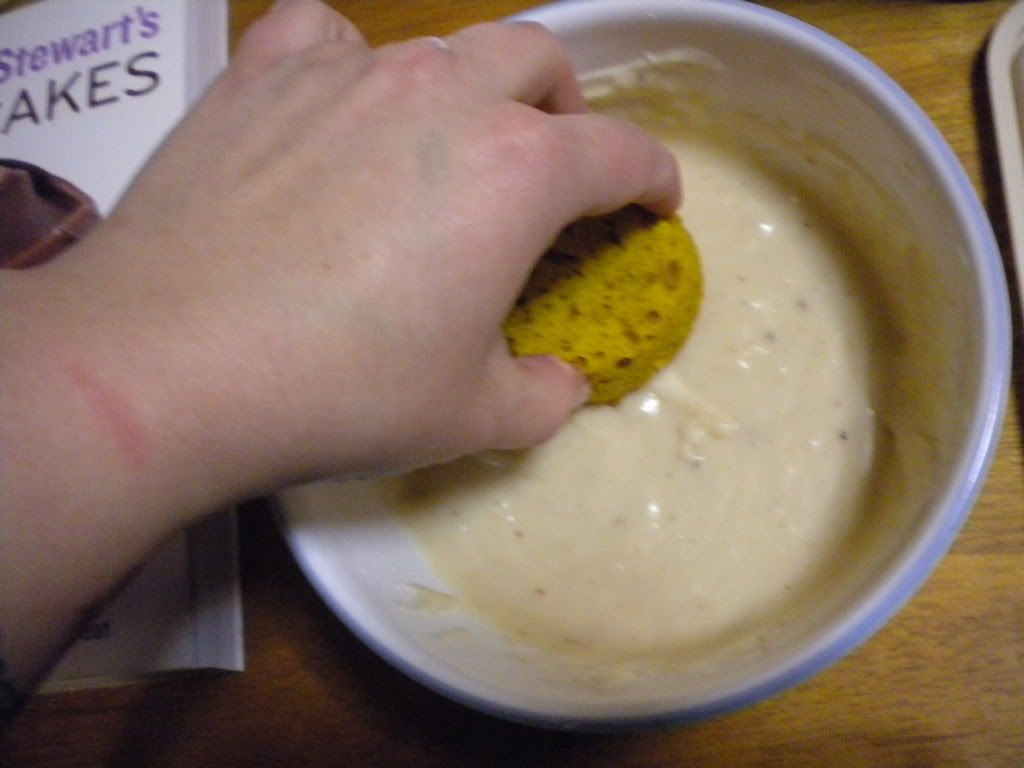
3. Dip top of each cupcake in icing, then turn over quickly and let icing set.

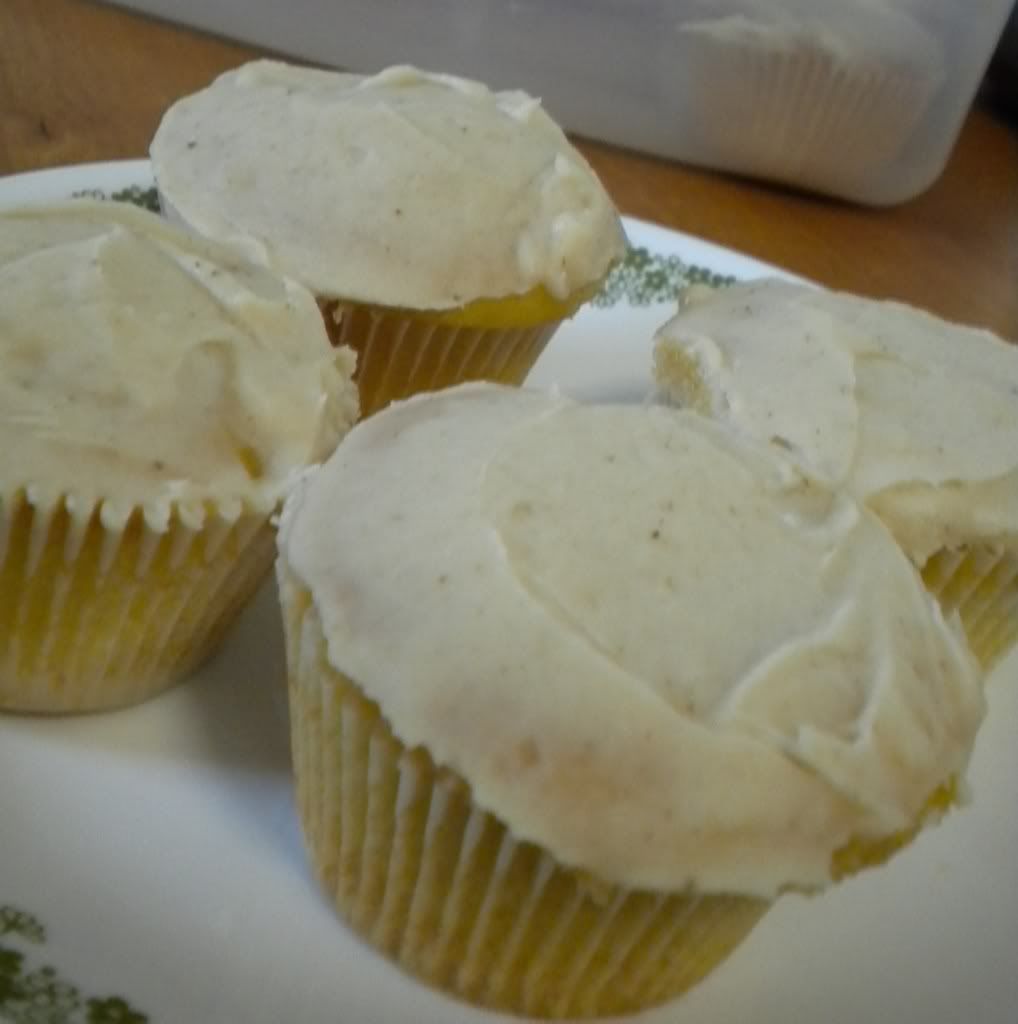
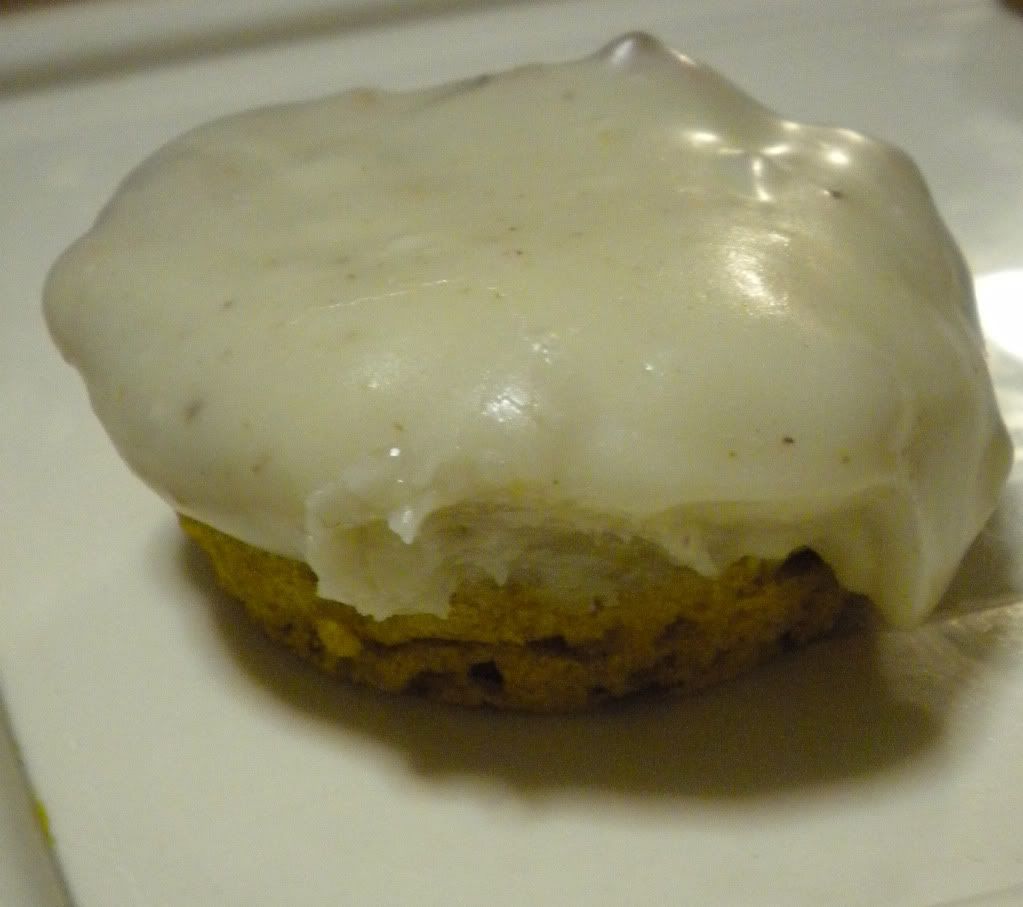
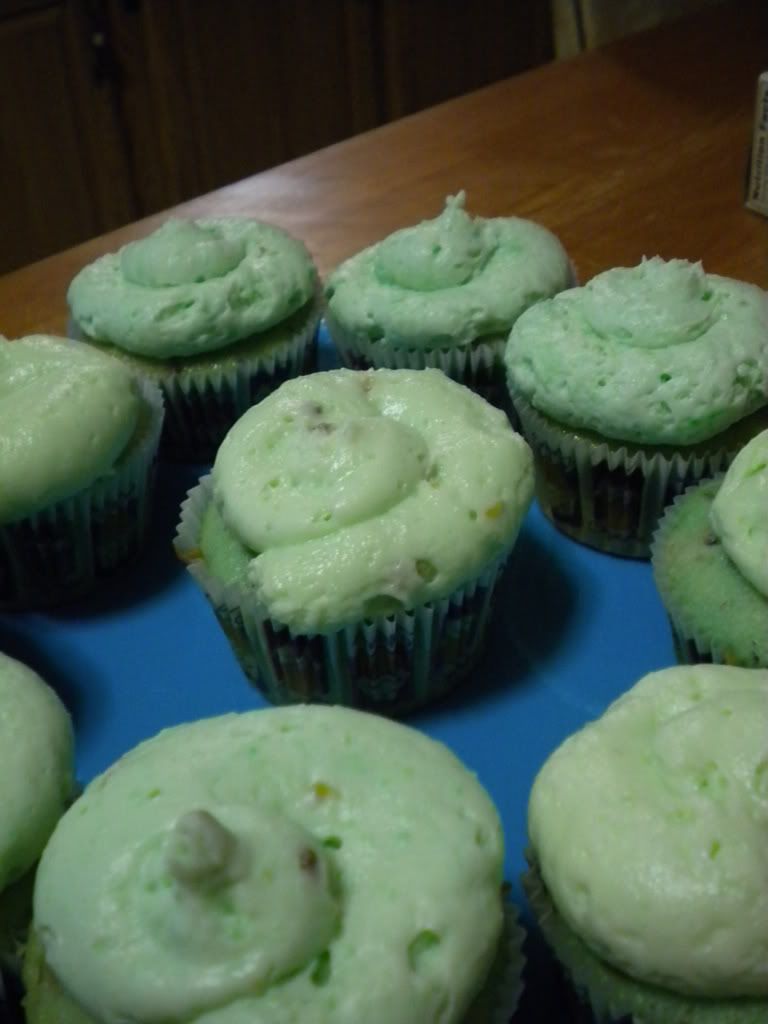
Taadaah! All done and ready to eat! They're perfect for a chilly day, especially in autumn, with the spicy-sweet pumpkin taste topped with a nutty icing. I'm just two seasons too late (or early)! Delicious and moist all the same. This was simple and fun to make!

Thursday, April 7, 2011

Cinnamon rolls


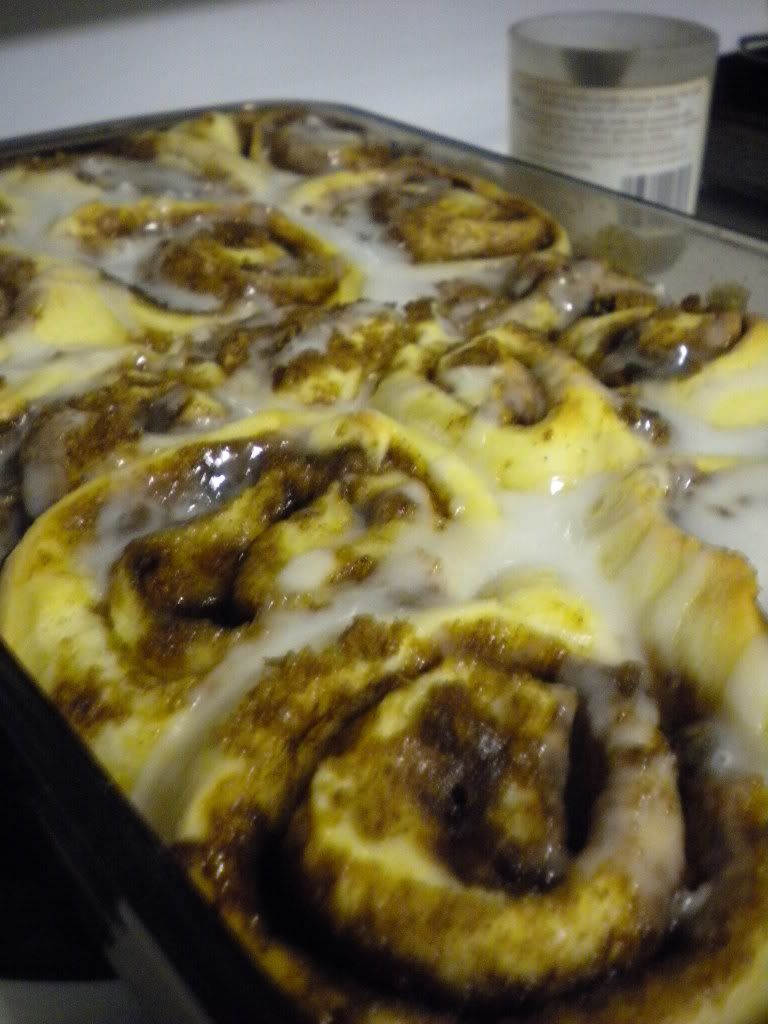
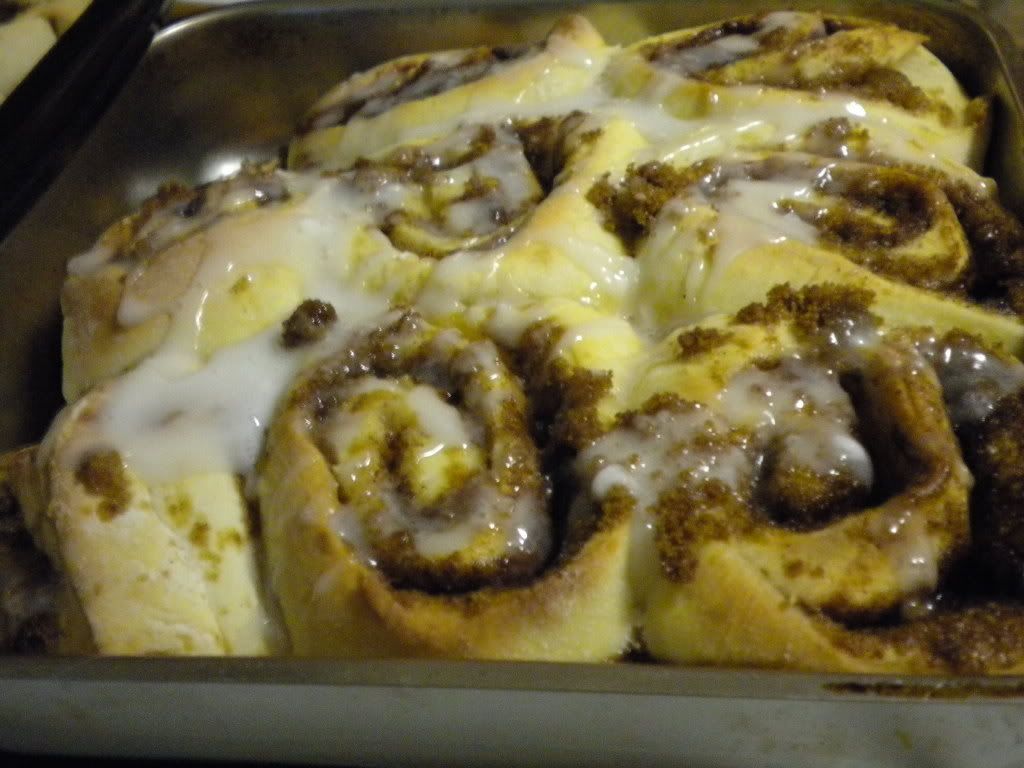
I decided to stray from my usual cupcake making extravaganza to make homemade cinnamon rolls for this week. I was in the mood for cinnamon and the combination of yummy sweet rolls, cinnamon and glaze was enough to make me drool.

I don’t have a lot of experience making bread and dough, but this recipe turned out to be surprisingly simple to make. I used my bread hook for my stand mixer for the first time, and it was done in no time! The dough came out at just the right consistency. It was insanely easy!

The recipe was delicious, though a little undercooked on the bottom so I stuck the pans back in the oven for a few more moments to get them cooked a little bit better.  (I changed the time on the recipe below to adjust to that issue.)

I’m completely excited about cinnamon rolls and plan to experiment with some different flavours next time I make them. Maybe brown-butter glaze (knowing my love of brown-butter!) or something fruity. Definitely stay in tune!


Cinnamon rolls Recipe:

Ingredients
·         1 cup milk
·         1/2 cup butter
·         1 cup water
·         1 tablespoon active dry yeast
·         1 cup white sugar
·         1 teaspoon salt
·         2 eggs
·         6 cups all-purpose flour

Cinnamon Filling:

·         2 teaspoons ground cinnamon
·         2 cups dark brown sugar
·         1/2 cup butter, softened

Glaze:
·          1 ½ cups confectionary sugar
·          3 tablespoons milk

Directions
1.     Warm the milk in a small saucepan until it bubbles, then remove from heat. Mix in the butter; stir until melted. Add water and let cool until lukewarm.
2.     In a large bowl, combine the milk mixture, yeast, white sugar, salt, eggs and 2 cups flour; stir well to combine. Stir in the remaining flour, 1/2 cup at a time, beating well after each addition. When the dough has pulled together, turn it out onto a lightly floured surface and knead until smooth and elastic, about 8 minutes.
3.     Divide dough into two pieces. Roll each piece into a 12x9 inch rectangle. In a bowl, stir together the cinnamon and brown sugar. Spread each piece with half of the butter, half of the brown sugar and cinnamon mixture. Roll up dough, using a little water to seal the seam.
4.     Cut each roll into 12 slices using a very sharp knife or dental floss. Place rolls onto two 9x13 inch greased baking pans. Cover and let rise until almost doubled, about 1 hour. Meanwhile, preheat oven to 375 degrees F.
5.     Bake in preheated oven for 25-30 minutes until golden brown.
6.     Stir up confectionary sugar and milk until smooth. Pour over cinnamon buns and allow to cool.


Wednesday, April 6, 2011

The Search for the Paddle Mixer… Oh and Red Velvet Cupcakes too.


My next venture into the art of baking cupcakes was red velvet. While, ‘traditionally’ red velvet is considered a Valentine’s Day cupcake, I got distracted from making red velvet on that day with something else. But, I knew I wanted to make it regardless, and the guys I usually foist my cupcakes on, were asking for more! I deviated from the ‘traditional’ again, and instead of cream cheese frosting, I decided to make swiss meringue buttercream frosting. Mmm, I love buttercream frosting!

Again, I took the recipe from Martha Stewart’s Cupcake book. I found that her cake recipes are generally delicious.

The red velvet recipe went according to plan. I was a little disappointed because they weren’t as red as I’d like them to be, but more of a weird maroon/brown/burgundy colour. Not too big of a deal, really. I did use red food-colouring. You know the kind, in the little drop bottle, that comes in a box with the primary colours. Nothing fancy. The recipe called for gel food colouring, which might be a bit more concentrated.
The problem came when I started to make the buttercream frosting. According to the recipe, and Martha Stewart, the use of a stand mixer came into play. I figured it wasn’t too big of a deal, and continued to use my great-grandmother’s old Sunbeam hand mixer that I’ve used for everything. It’s gotten me through thick and thin, I wasn’t going to give up on it yet! And it was so useful! I continued with the recipe with my hand mixer and all seemed to go well until…

“Switch to the paddle attachment, and continue beating on low speed until all air bubbles are eliminated…”
Wait what? Paddle attachment? What is that? The pictures didn’t give me much to go on. I got my spatula out, just in case, but I kept beating with my handmixer regardless. And I mixed and I mixed and I worried and poked at it with my spatula. But never did my frosting come close to looking like the picture. It looked like cottage cheese. It had curdled. Crap. I checked my recipe again. It said if the frosting curdled I could just mix it again on medium-high. Helpful! So, I amped the speed on my handmixer and kept at it. Nothing. It kind of began to juice a little, which was terribly gross.
I began to wonder where I went wrong. Everything else seemed to go according to plan: until the paddle attachment part. Maybe it was the handmixer? Noooo!  I put the frosting mess into the fridge, in hopes that it’d solidify as it cooled. After a few hours, I pulled it back out and tackled it again. It still kept its lumpy, juicy form. It was pretending to be cottage cheese frosting.

I began to panic. I began to doubt my hand mixer. I began to look into the funds in my bank account (aka: very low). 

See, I had wanted a stand mixer for a while, but they’re awfully expensive. I had searched and found a pretty standard KitchenAid stand mixer for 200 dollars. I was going to suggest it for Christmas where relatives could pool in and get it or something. But, my mom offered to pay for half of it now, since she enjoyed watching me discover my baking ‘talent’ since I started. She knew I was really getting into baking. So we began to look for a place that sold a stand mixer  in our price range, with most importantly a paddle mixer. We first called our small Sears branch, since Sears sells Kitchen Aid. Our Sears only sell large appliances though. Next, we headed to Kmart, since Kmart is under Sears, and might have the mixer I had in mind. Not there. Not even a cheaper one with a paddle mixer.  So I went to Walmart. And there it was, sitting all on its lonesome on a shelf. The Kitchen Aid stand mixer. The only one. I asked a salesperson if they sold the display, and they told me no. They were nice enough to check if they had any in stock, but eventually we realized there wasn’t one there. My next guess was Lowe’s. I called them to ask them if they had stand mixers (they did), and if they carried Kitchen Aid (they did!). After gushing on the phone to this poor man, I raced over there and finally found a stand mixer with a paddle attachment. Hurrah! I dragged the thing home and set to work on a new batch of swiss meringue buttercream (using the last of my butter, did you know this recipe uses over a pound of butter!?). It began to curdle worryingly, but I hit the high option and it began to smooth out. Finally! Success!!

All in all, not one of my favourite cakes I’ve tried yet. The cake, while completely moist and lovely, wasn’t very high on my taste list. And the buttercream was just odd and slimy-tasting. I’ve been looking around for alternate buttercream  frosting recipe. My stand mixer came with a slew of recipes, one of which is a buttercream recipe, with different ingredients.  The guys, my taste-testers, voted up on the cupcakes and down on the frosting. They definitely agreed on the taste and texture of the buttercream recipe. They didn’t like the lack of flavour and asked if I didn’t make it again, or made one with more flavour.

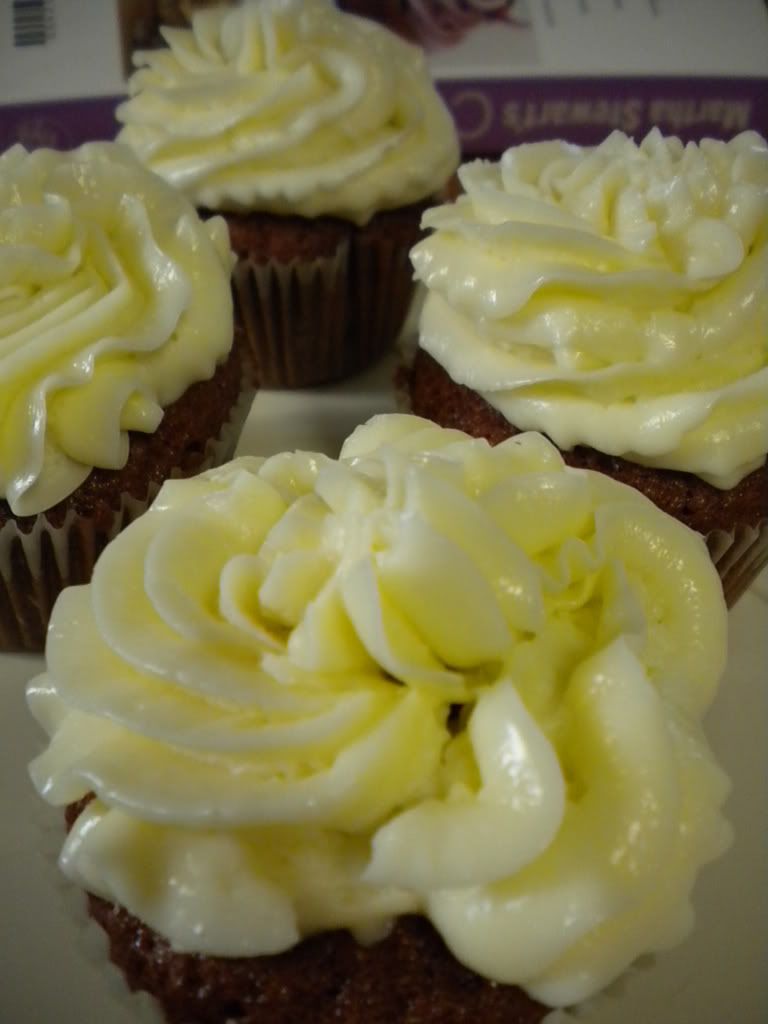
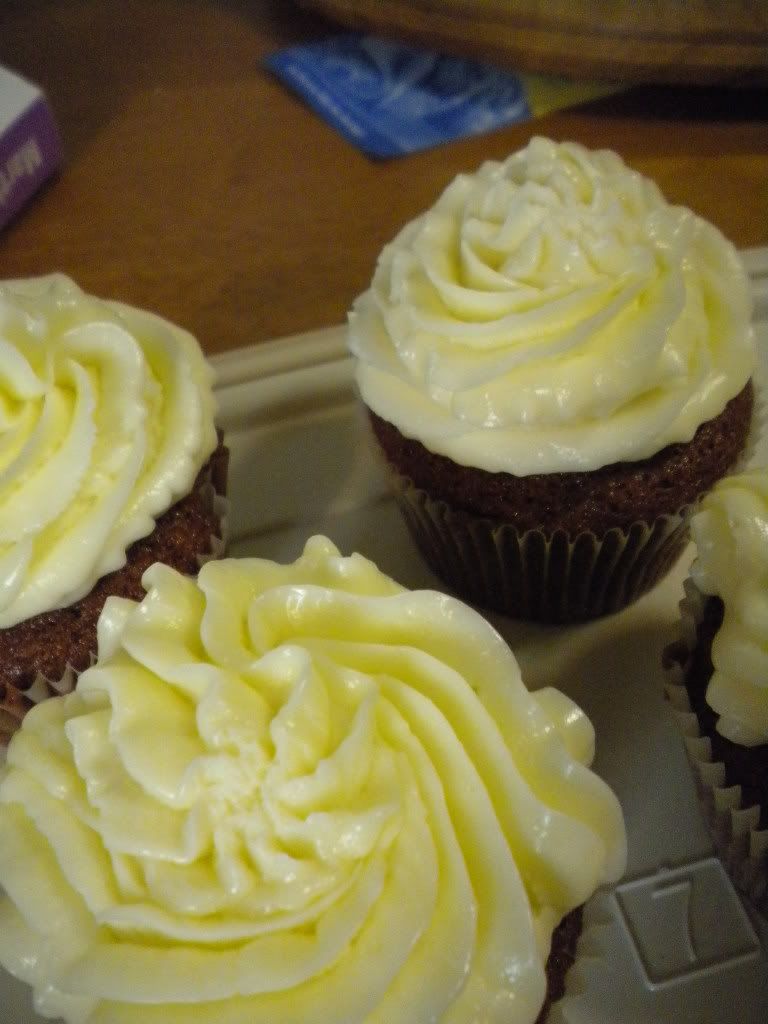
You can see the way the frosting glistens. It's oily, and makes that terrible slimy texture.


My mom suggested that it was the egg whites that gave it its slimy taste, and from a little bit of research, I realized that swiss meringue buttercream uses egg whites while traditional buttercream does not. (I eventually tried a traditional chocolate buttercream recipe for some whoopie pies I made. I got the recipe from  "Whoopie Pies: Dozens of Mix 'em, Match 'em, Eat 'em Up Recipes". It was decadently chocolatey but too overwhelming for my chocolate whoopie cake I was using it with. It gave even ME a chocolate overload and made my teeth ache. But it wasn’t slimy! And it didn’t curdle.) So still on the search for a buttercream recipe! I might attempt Swiss Meringue Buttercream again, but maybe amp up the taste with some flavouring in it, like vanilla or something.

The recipes can be found in Martha Stewart’s “Cupcakes” book, and on her site here:
Red Velvet Cupcake
Swiss Meringue Buttercream

Monday, March 28, 2011

Watergate Cupcakes


For my boyfriend's birthday, I decided to bake him cupcakes. After all, he thoughtfully gave me that big book filled with cupcake recipes. What better event than now to show off my newfound knack of baking cupcakes to him, after all? A little over a year ago, he told me his and his father’s favourite cake was called ‘Watergate Cake.’ Now, I never had heard of this type of cake before, and he explained it to me – see: filled with pistachios and yummy.

 I did research on the internet for a cake recipe like this, since I couldn’t seem to find it in any cookbooks I had on hand. Even Martha Stewart didn’t have a recipe for it! I did find a few recipes though on it, and they all had pretty much the same features: a boxed cake mix (yellow or white), some sort of fizzy soda (club or lemon-lime usually), and pistachio pudding. No matter how hard I looked, I couldn’t find a ‘Watergate Cake’ recipe from scratch, ie. not using a boxed cake mix. So I figured that if I got the other ingredients on hand, I could deviate from a white cake recipe and add in the other stuff.  So that’s what I did! I also added in some crushed pistachios and walnuts for extra flavouring.

This recipe yields a ridiculously large number of cupcakes! I made about 30 regular sized cupcakes, and a dozen mini cupcakes with the batter.

Watergate cake:
3 ¼ cups sifted cake flour (not self-rising)
1 ½ tablespoons baking powder
¼ tsp salt
1 tablespoon vanilla extract
1 cup plus 2 tablespoons milk
½ cup plus 6 tablespoons (1 ¾ sticks) unsalted butter, room temperature
1 ¾ cups sugar
5 large egg whites, room temperature
1 cup crushed pistachios
1 box pistachio flavoured instant pudding
½ cup walnuts
1 cup club soda
1.   
    2. Preheat oven to 350° F. Line muffin tin with paper liners. Sift together cake flour, baking powder, pudding mix, and salt.
2.       
2. With an electric mixer on medium-high speed, cream butter until smooth. Gradually add in sugar, beating until pale and fluffy. Reduce speed to low. Add flour mixture in three batches, alternating with two additions of milk, and beating until just combined after each. Add club soda.
3.     
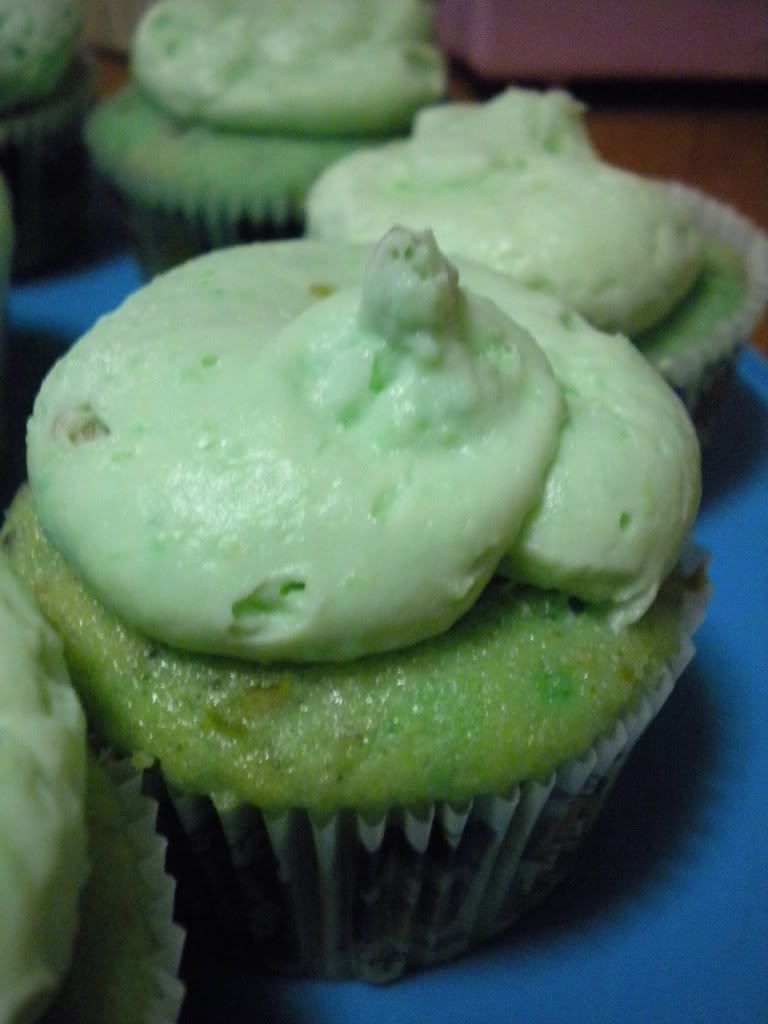
3.   In another bowl, with electric mixer on medium speed, whisk the egg whites until stiff peaks form. Fold one third of egg whites into batter to lighten. Gently fold in remaining whites in two batches. Add in crushed pistachios and walnuts, stir until combined.  (Additionally, I added in a few drops of green food colouring because I wanted my cupcakes to be really green!!
4.    
4.    Fill muffin tin ¾ full. Bake for 18-20 minutes. Transfer muffin tin to wire racks to cool for 10 minutes. Pull out cupcakes and let cool completely before frosting.

The frosting I made was really simple to make. I used the same recipe for the frosting that all the Watergate cake recipes I found were using. This yields about enough frosting for two dozen cupcakes.

Frosting:
Two packets of Dream Whip
One box of pistachio flavoured instant pudding mix
1 ½ cups milk
1.       Mix, with an electric mixer on medium-high, Dream Whip and milk together until the mixture thickens and forms peaks.
2.       Add in pistachio instant pudding mix and mix until combined.
3.       Chill until ready to use.

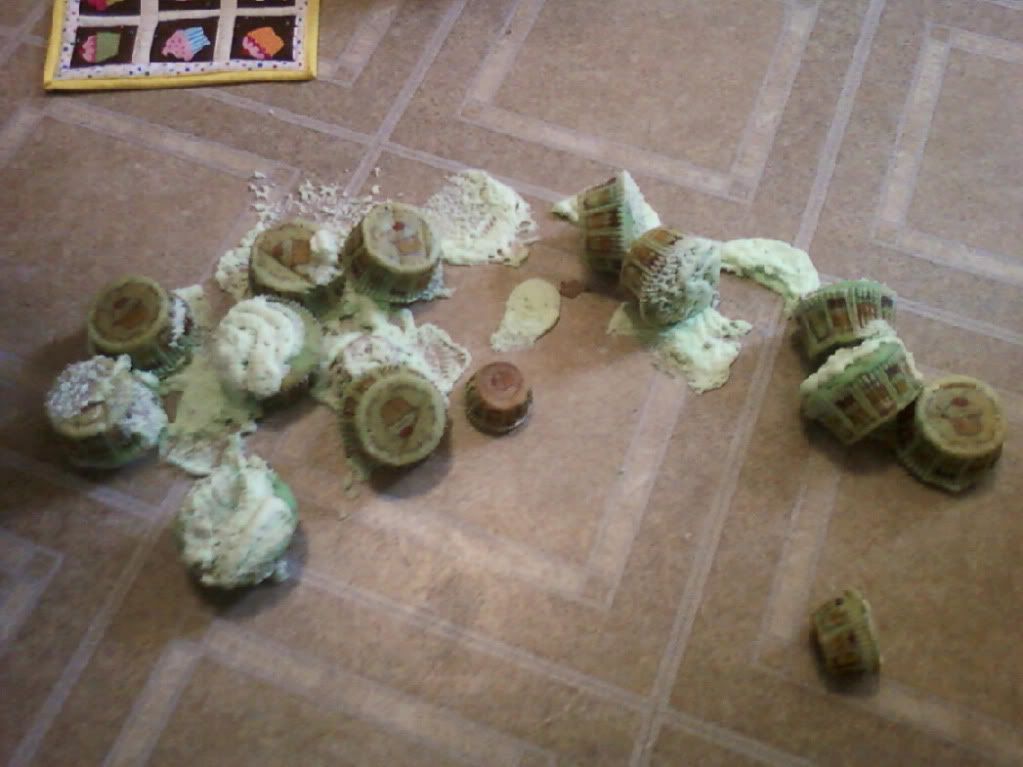
Everything went according to plan: the baking, the frosting making. And then the unthinkable happened. I had set a tray of iced cupcakes down on the table and as I turned to find a spatula, the whole tray slipped off the table and… splat. Top side down onto the floor. I had unknowingly set it on a potholder that was hanging off the edge, and it carried the whole tray down to cupcake doom.


I ended up making some more. And finished the day off with making chocolate chip cookies. Phew, what a day!

Wednesday, March 23, 2011

Maple Cupcakes with Brown Butter Glaze


After my chocolate overload with the devil’s food cupcakes and chocolate ganache frosting, my ‘taste-testers’ asked for something less chocolatey. They are men! And I guess not big fans of chocolate. I decided to go in a different direction and tried out a recipe of a brown-sugar pound cake with brown butter glaze.

I love brown butter. I love cooking it and the smell and the taste. Everything! I would put brown butter in every dessert if I could. Mwuahahaha! I first discovered the amazing taste of brown butter when I made brown butter spoon cookies for a bunch of friends one day  (found here). Hook, line and sinker. The nutty aroma of browning butter is to die for and combine it in a sweet treat, and you’ve got a drool-worthy dessert!  So when I saw the recipe for brown butter glaze, I was excited to try this out.

The recipe was quick and easy, as Martha’s cupcake recipes are. On a whim, I poured an extra tablespoon and a half of maple syrup into my pound cupcake batter. Instant heaven. The cupcakes came out beautifully yellow and moist with a very sweet, yummy scent of maple syrup.

The frosting was pretty easy to put together: browned butter and sugar mixed together. As typical with the frostings I’ve been making, it was a bit soupy at first. I knew I wouldn’t be able to put it into a decorating bag but it IS glaze and not frosting, technically. I let it sit and it got stiffer upon sitting. Stirring it up made it a little more pliable if it became too stiff from sitting. I just used a spatula and spread the glaze onto the cupcakes generously. Yum!

My taste-testers declared that this was their favourite cupcake yet! And frankly, it was my favourite too. I ate way too many!

All the recipes I use can be found in Martha Stewart's "Cupcakes" book, or on her website: Brown Sugar Pound Cupcake.


Tuesday, March 8, 2011

Pancake Day pancakes

As today is Strove Tuesday, AKA Pancake Day, I decided to deviate from my usual cupcake baking and make some pancakes instead. Honestly, I had never made home-made pancakes before, so this was a first for me. For a long time, I wasn’t even a big fan of pancakes (mostly due to the fact that I can’t handle the stickiness that came with maple syrup. And who has pancakes without maple syrup!? Heresy!) But I rekindled my love of maple syrup – we kissed and made up – with some delicious maple cookies I made for a few friends, and a very delicious cupcake that I haven’t posted about yet (brown butter glazed frosting and maple cupcakes – it’s coming up next! )

I found my pancake recipe on allrecipes.com. I wasn’t sure what to choose from the plethora of pancake recipes, they seemed all pretty similar, so I chose the top-rated one and went with it. I threw the ingredients together in three minutes and set up my frying pan. I also added a little bit of vanilla for some extra sweetness.
The frying bit was the big part. I wasn’t good with flipping things in skillets. They usually broke apart or flew everywhere. Or both. Omlettes and I don’t get along other than the fact that I love them a lot, but because I can’t flip them without them getting everywhere and then I get angry at them. I just end up with a pile of scrambled eggs and all the veggies and cheese flung everywhere on the plate.

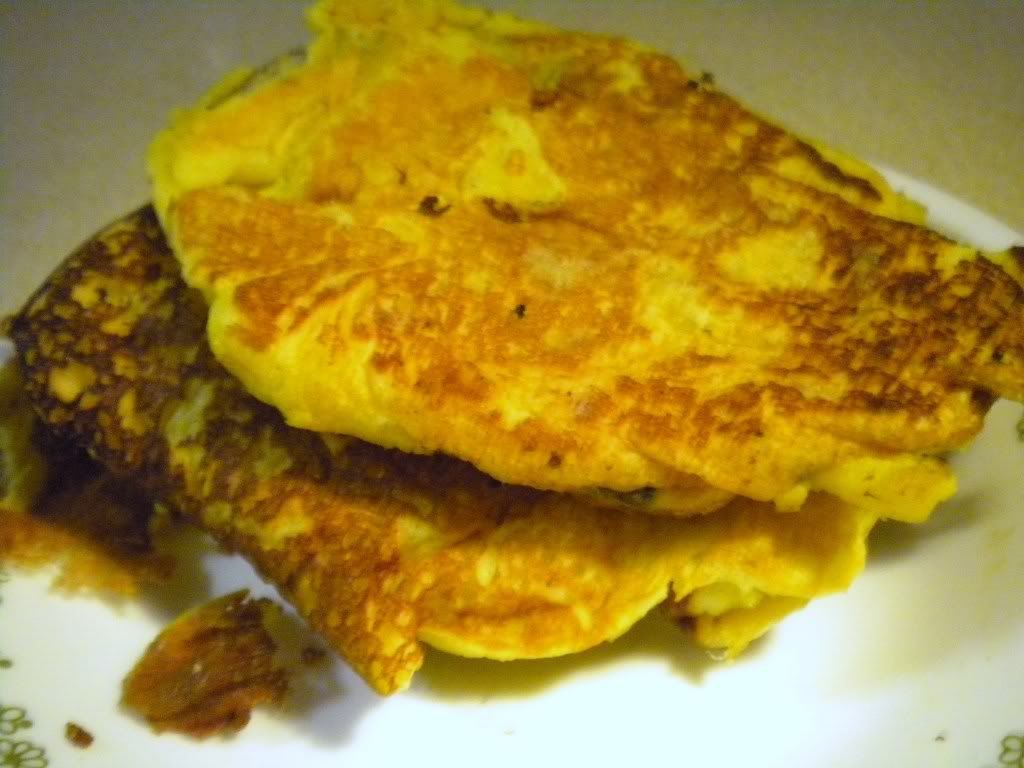
The  first one I poured on, naturally, broke into a bunch of pieces. I had flipped it too soon. But I browned all the little pieces and took them out and ate them right there. Mmm, good!! The second one came out pretty good, though, as I knew what I was looking for this time. The third one got burnt (I was writing this blog at the time and got distracted) but the dogs enjoyed it. Strove Tuesday is for everyone! After that, and I gained my attention span back, my pancake flipping skills became great! They tend to come out a little wrinkly because I’m not great at pancake flipping, but I count the fact that they’re in one piece and decently round a success. They don’t look like five-star restaurant pancakes, but they are cooked well, and tasty delicious. Especially smothered in maple syrup.

The pictures are terrible because the lighting in my kitchen is awful. The lighting can’t excuse the weird looking pancakes though. I guess I won’t be a professional flapjack flipper, that’s for sure!!


The recipe used for these pancakes can be found here.

Makes 8 pancakes
Ingredients
·         3/4 cup milk
·         2 tablespoons white vinegar
·         1 cup all-purpose flour
·         2 tablespoons white sugar
·         1 teaspoon baking powder
·         1/2 teaspoon baking soda
·         1/2 teaspoon salt
·         Splash of vanilla
·         1 egg
·         2 tablespoons butter, melted

Directions
1.     Combine milk with vinegar in a medium bowl and set aside for 5 minutes to "sour".
2.     Combine flour, sugar, baking powder, baking soda, and salt in a large mixing bowl. Whisk egg and butter into "soured" milk. Add in vanilla. Pour the flour mixture into the wet ingredients and whisk until lumps are gone.
3.     Heat a large skillet over medium heat, and coat with cooking spray. Pour 1/4 cupfuls of batter onto the skillet, and cook until bubbles appear on the surface. Flip with a spatula, and cook until browned on the other side.

Friday, March 4, 2011

Devil's Food Cupcakes with Chocolate Ganache


Testing my skills in the kitchen again. This time, the recipe: Devil’s Food Cupcake with Chocolate Ganache Frosting, from Martha Stewart’s Cupcakes book.  It looked absolutely delicious, and I had a craving for chocolate – then again, when don’t I?


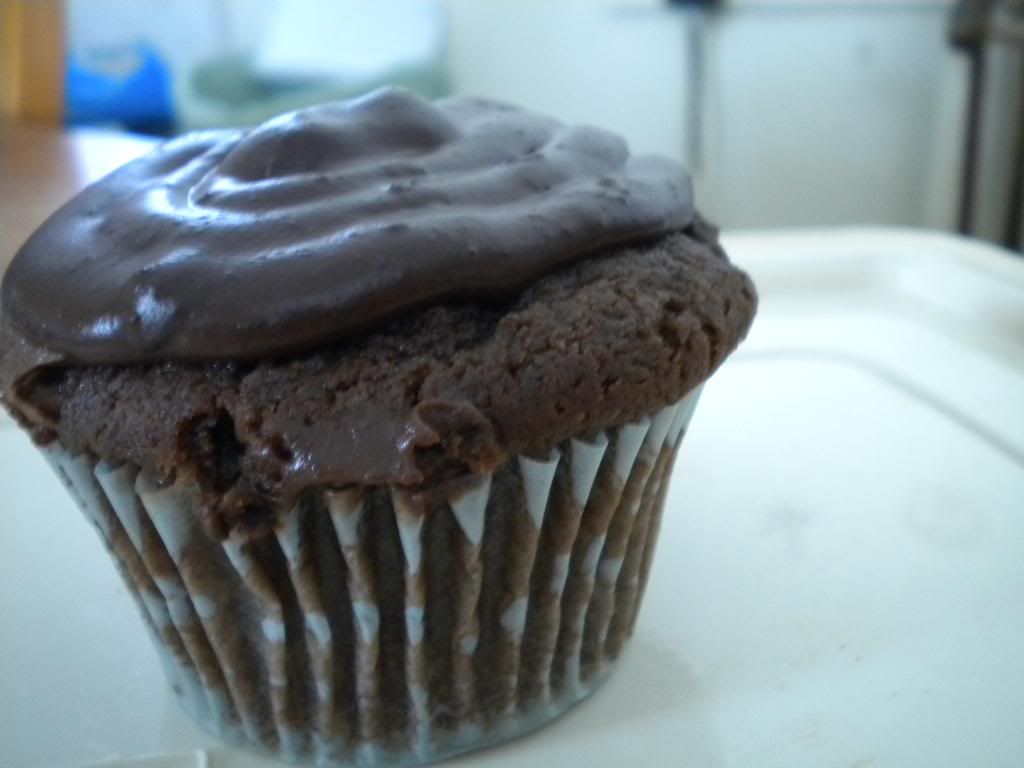
Chocolate ganache is a decadent chocolate frosting that looks utterly delicious.

For once, everything seemed to go smoothly, cupcake wise. I think I got that down pat! Yay! The cupcakes ended up being wonderfully moist and chocolatey – the absolute perfect cupcake.

Then came the icing. Isn’t this where I go wrong a lot? I followed the directions – they were surprisingly simple. I did almost take my finger off when I was 'finely-chopping' my chocolate. But, me + very large knife = never a good idea.  For the most part, the instructions were mostly: chop chocolate, boil heavy cream, pour heavy cream on chocolate. Then a little tricky part where I had to stir it a lot and refrigerate it to cool, and stir every five minutes until it "thickened."

I stirred and cooled and stirred and cooled. Did it thicken like Martha said it would after 30 minutes? No. Did it thicken after 120 minutes? No.  Once again, I had frosting soup. Really chocolatey frosting soup.  I decided to let it refrigerate overnight and hit the internet to find out any more info on chocolate ganache.
(For the record, the recipe linked has all the same components but the instructions read differently than they do in the recipe book.)

This site here gave me some helpful insight on ganache. They suggested just whipping it with cold beaters and a cold bowl! So easy, right!?

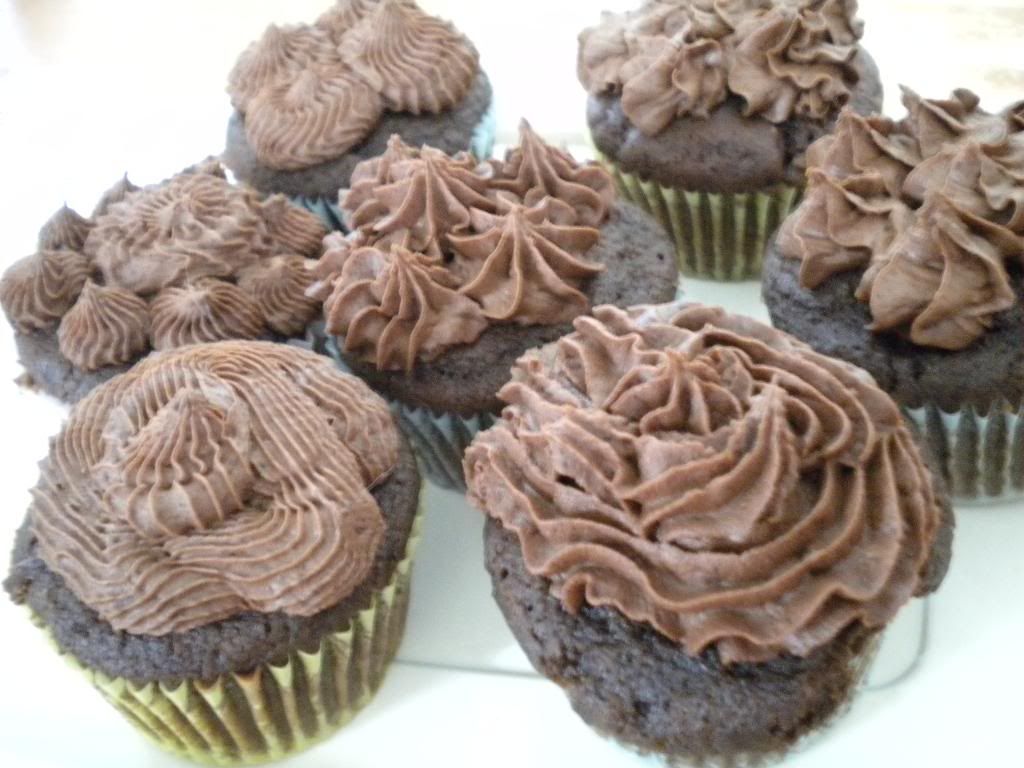
Out came the ganache and my hand mixer. And as I mixed, I watched my ganache soup turn into lovely, fluffy ganache frosting. Oh yea, definitely easy-peezy lemon-squeezy!


 Ganache unwhipped/glazed


Ganache whipped

As the ganache seemed to be holding its shape, I put it into a frosting bag and decided to test out my decorating tips I have. It was fun, until I realized that my ganache wasn’t as smooth as it should have been. Bits of chocolate were still in the frosting (which made it incredibly delicious and rich, but wrecked havoc on my tips.) The smaller tips had problems getting clogged with chocolate chunks, and I exploded two frosting bags before I learned my lesson. Ganache doesn’t taste as good in your hair. Or your eyebrows.
My taste-testers – forced PennDOT guys to eat my cupcakes, the horrors! – all loved them; they were gone in a day! They asked for something with a little less chocolate next time, though.

All the recipes I use can be found in Martha Stewart's "Cupcakes" book, or on her website: Chocolate Ganache Frosting and Devil's Food Cupcakes!